

 irenethompson80
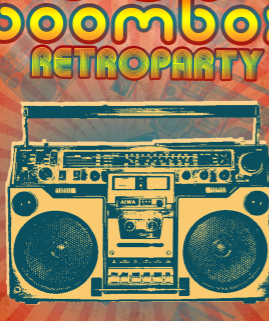
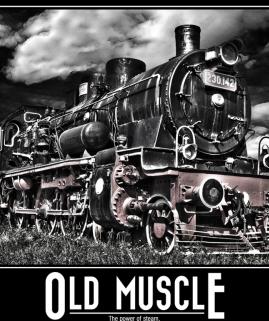
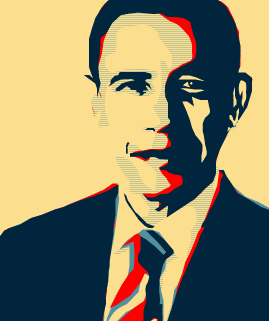
If you want to incorporate a retro grunge look into your poster prints or flyer designs? Well here are the instructions that you need to do just that. Read carefully and learn.
irenethompson80 irenethompson80
 irenethompson80
 irenethompson80
 irenethompson80
 irenethompson80
 irenethompson80
 irenethompson80
 irenethompson80
 irenethompson80
 irenethompson80
 irenethompson80
 irenethompson80
 irenethompson80
 irenethompson80
 irenethompson80
 irenethompson80
Copyright© 2012 Tutzor All Rights Reserved | Developed by: Iceous Design


Comments
Re: Go Retro Grunge with your Designs in Photoshop