

 hansen-fotografie.tumblr.com
HDR Vivid colors looking Tutorial.
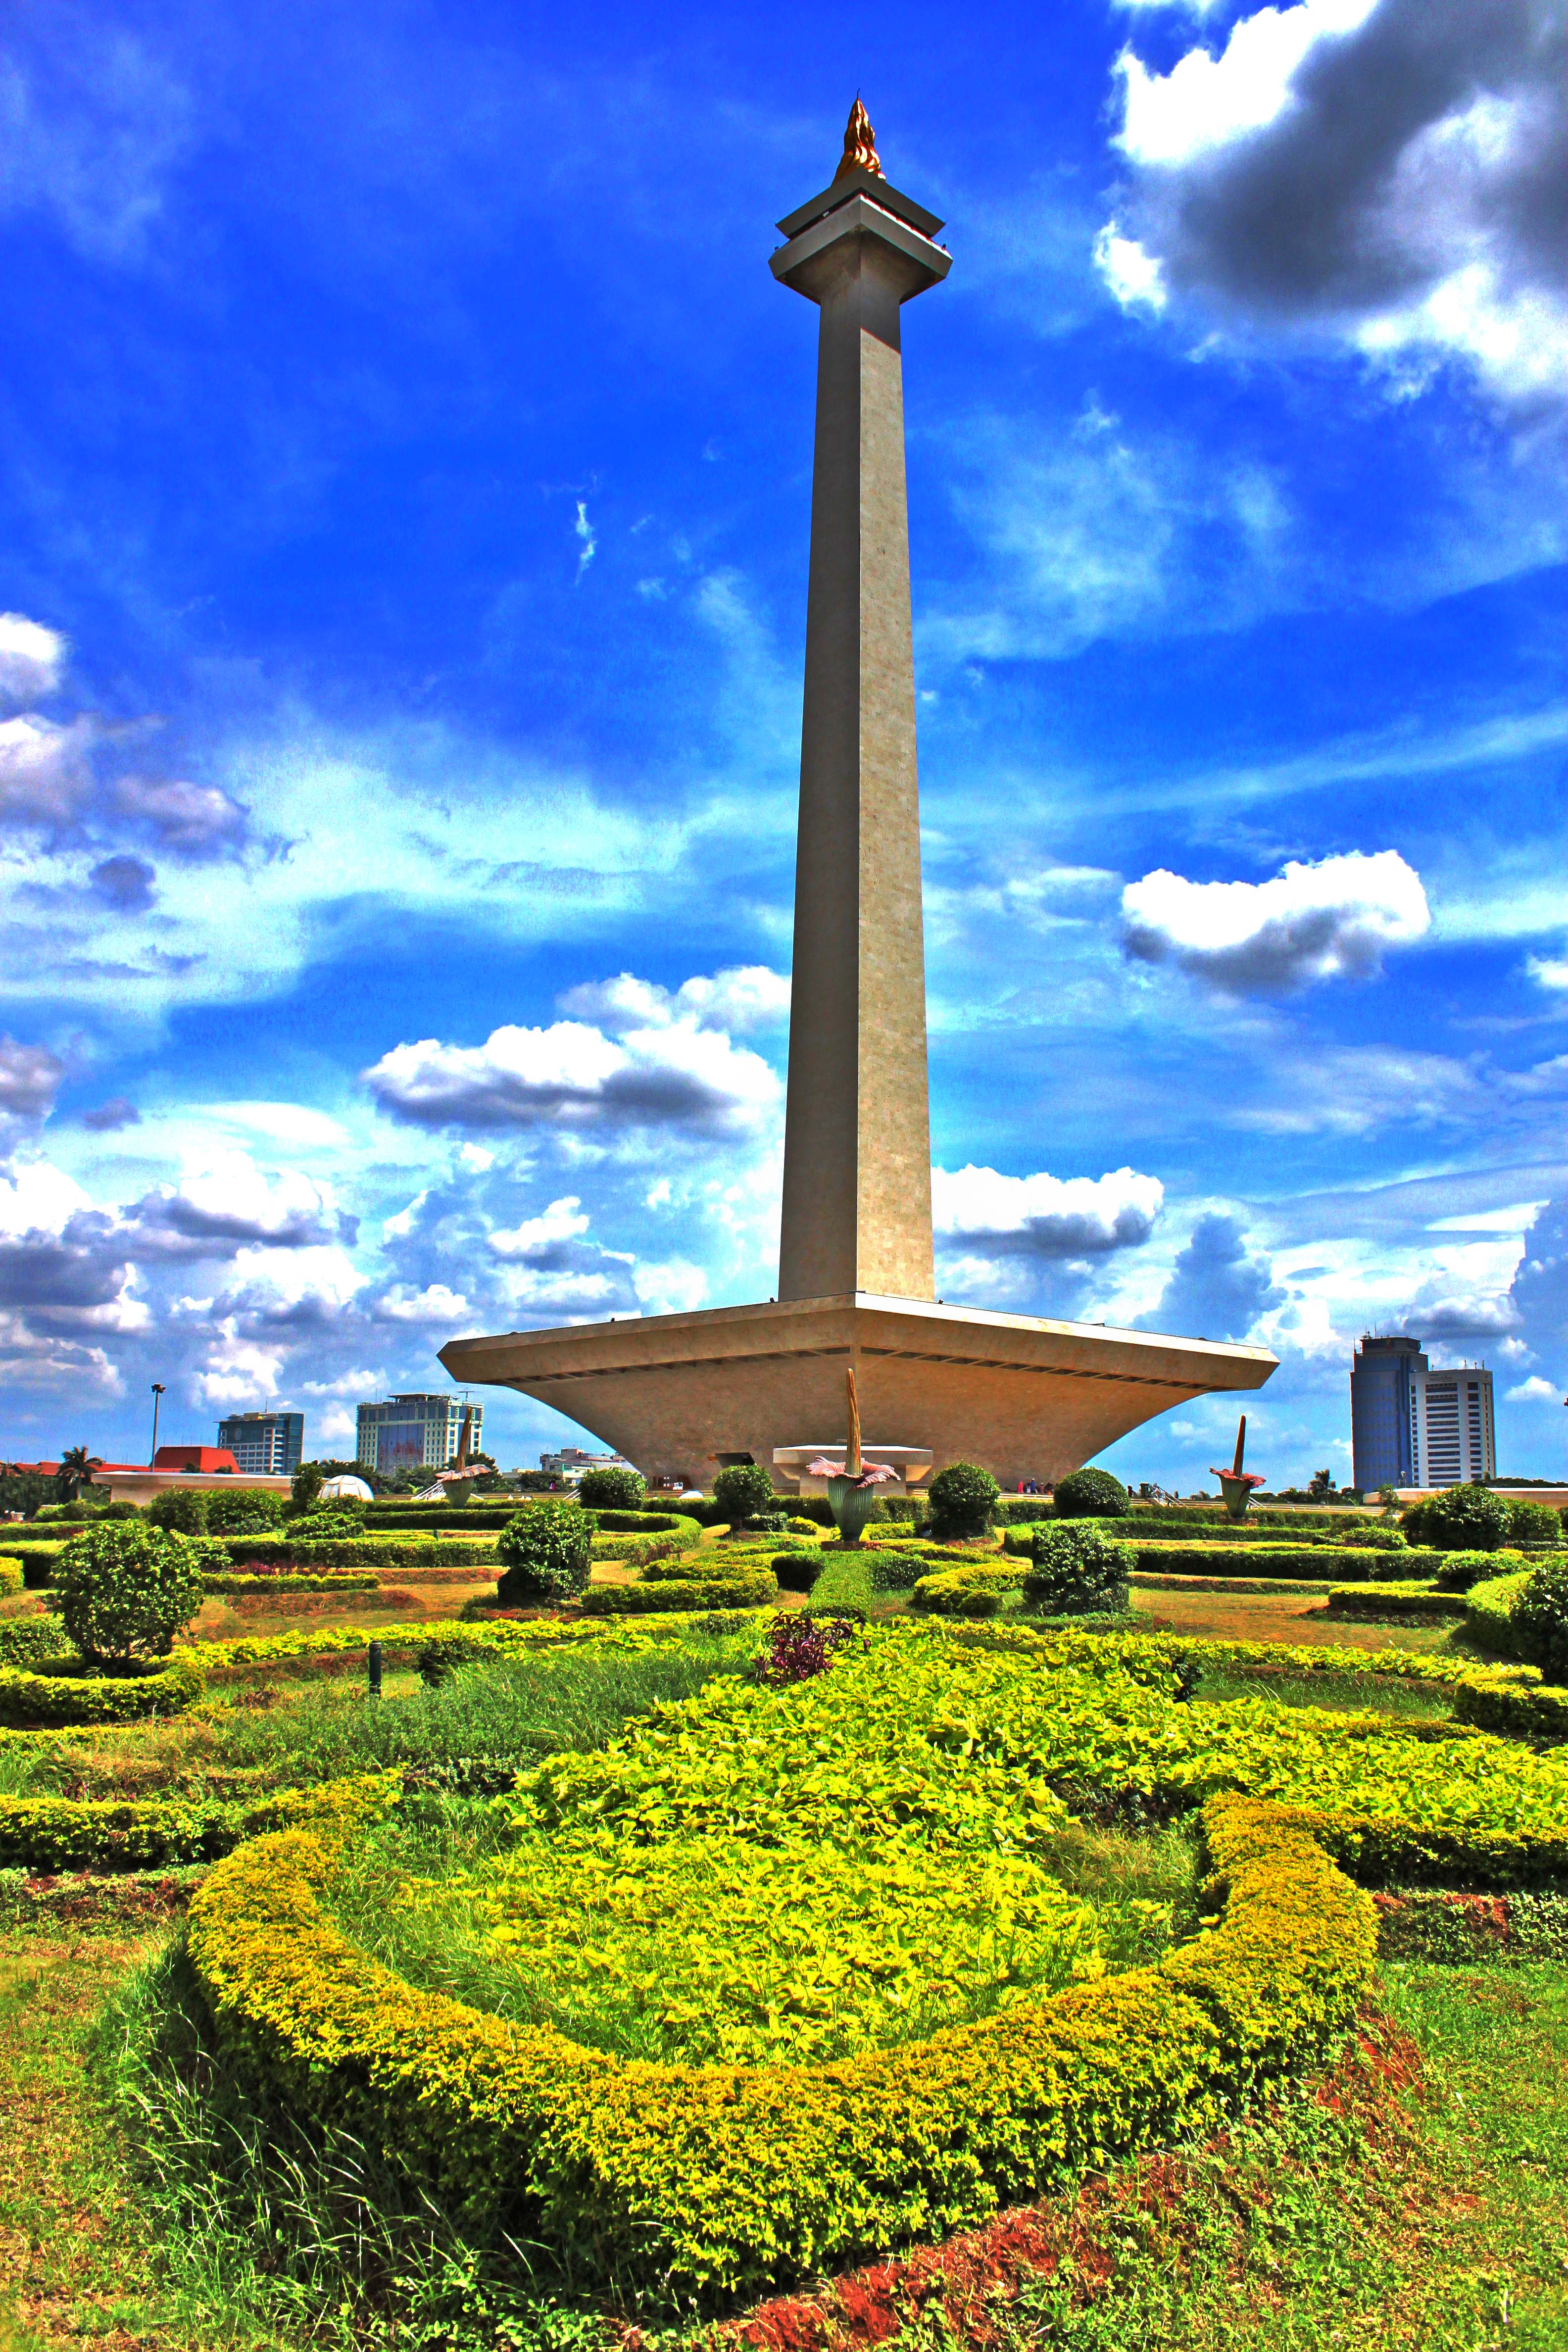
In this tutorial I will show you how to edit a photograph to be a HDR with vivid colors look.
High Dynamic Range as well as HDR is very useful for bracketing photograph, mostly with outdoors or a under exposure photo. In this tutorial I will not merge them (usually HDR need more than 1 photo) instead of just using single image.
What we need : Photoshop and an outdoor photograph.
Thanks for viewing, I hope this tutorial can help you to edit a photo with HDR feeling, but don’t hesitate to try the any other HDR program like photomatix pro.
About the picture,
it is a national monument, if you search up in google, you can type Monas. Located in Jakarta, Indonesia.
 hansen-fotografie.tumblr.com
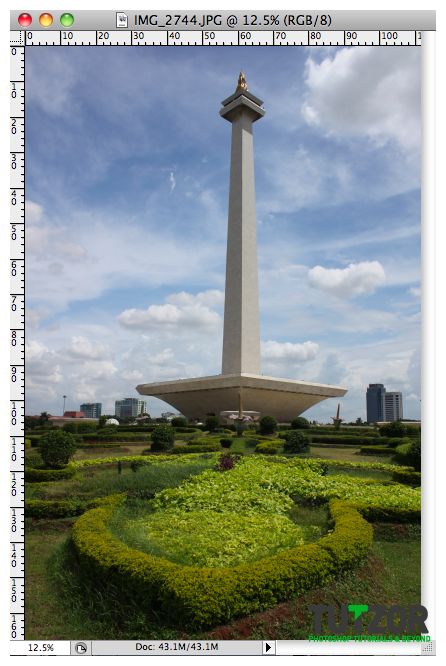 hansen-fotografie.tumblr.com
 hansen-fotografie.tumblr.com
 hansen-fotografie.tumblr.com
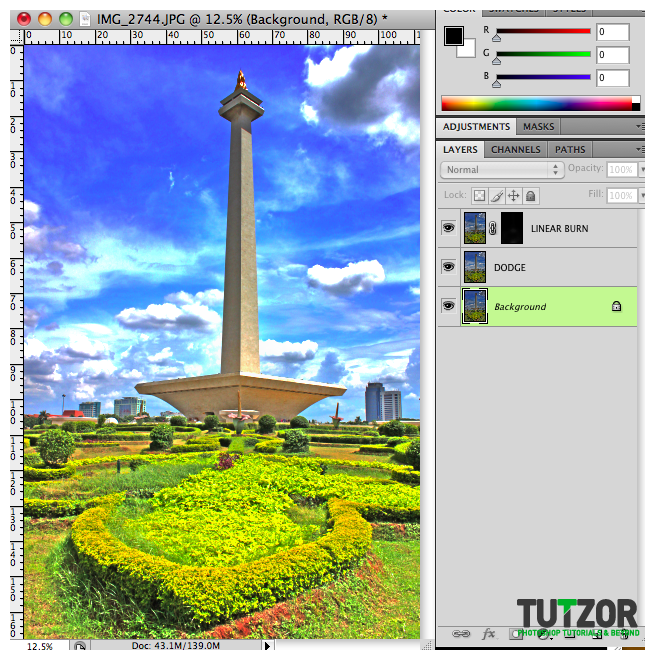 hansen-fotografie.tumblr.com
 hansen-fotografie.tumblr.com
 hansen-fotografie.tumblr.com
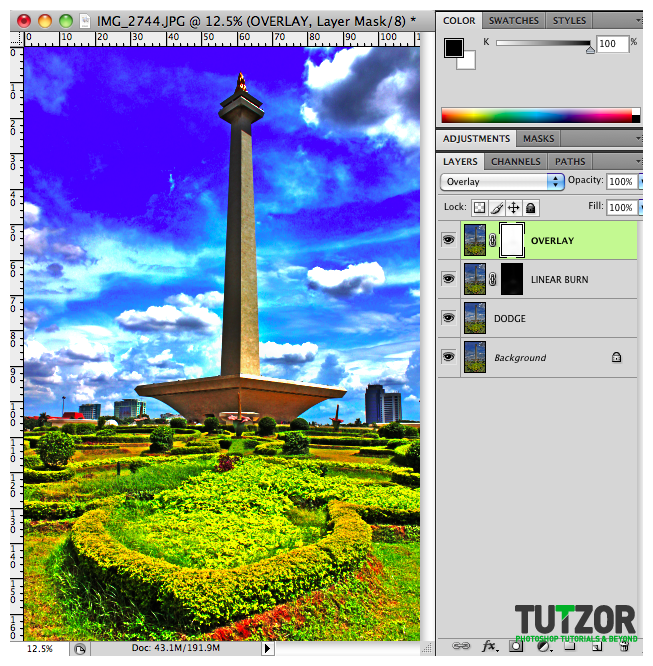 hansen-fotografie.tumblr.com
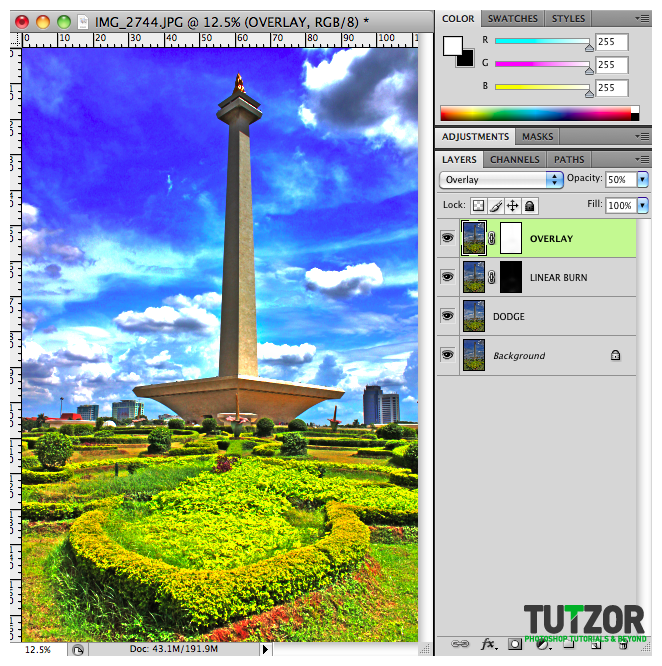 hansen-fotografie.tumblr.com
Copyright© 2012 Tutzor All Rights Reserved | Developed by: Iceous Design


Comments
Re: HDR-look editing with Photoshop
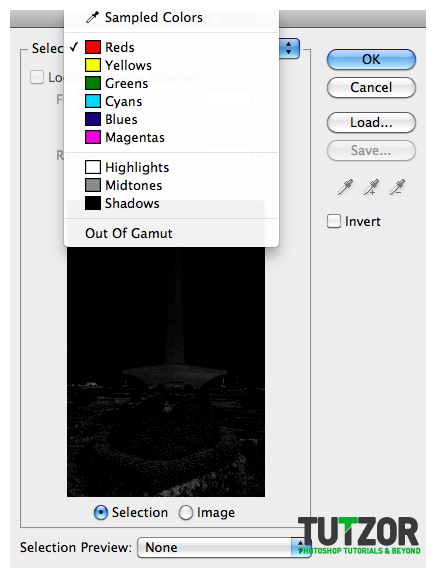
Totally completely lost me at "set the foreground color to black", also your interface looks completely different than mine. Very very frustrating, I thought that this was supposed to be for beginners.
Thanks all the same. Moving on to easier tutorials
Re: HDR-look editing with Photoshop
I hate to say this, but Photomatix—hands down—is the best HDR editing software out there. Take a few pictures in RAW format, and then you can go absolutely wild.
Re: HDR-look editing with Photoshop
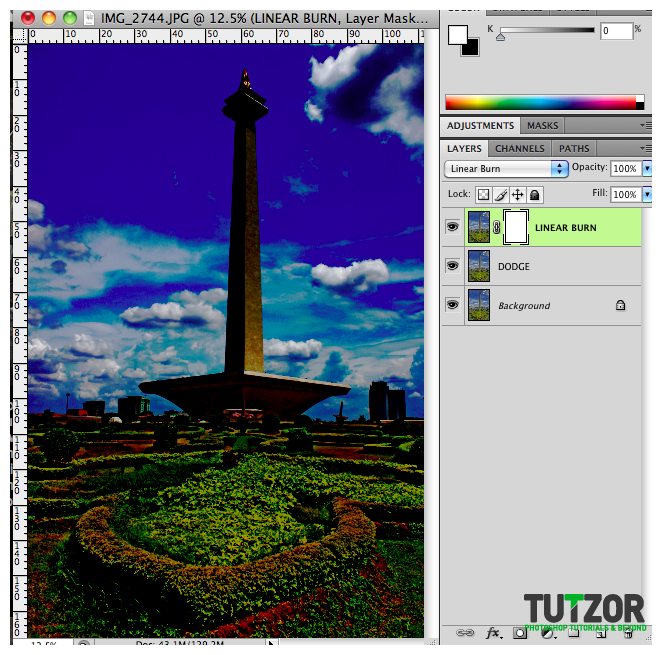
I'm confuse, why does the layer of the picture where in i have to make it linear burn and overlay has a link?
Re: HDR-look editing with Photoshop
Excellent!!
Re: HDR-look editing with Photoshop
Excellent, I really want know how do this HDR image!!
Re: HDR-look editing with Photoshop
Very nice!