irenethompson80
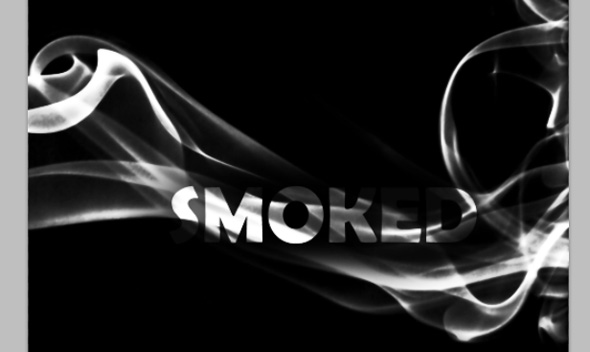
A mysterious and classy way to add more sizzle to your text is to cloak engulf them in smoke. This effect can definitely add more thrill to your boring catalog print designs and flyers.
 irenethompson80
 irenethompson80
 irenethompson80
 irenethompson80
 irenethompson80
 irenethompson80
 irenethompson80
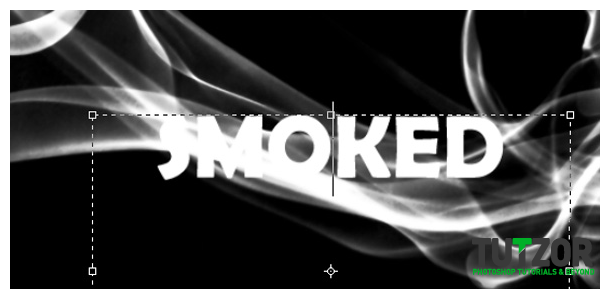 irenethompson80
 irenethompson80
 irenethompson80
 irenethompson80
 irenethompson80
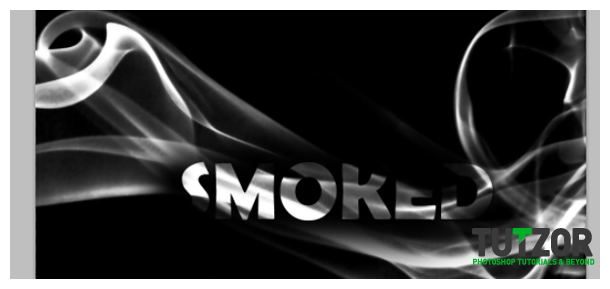 irenethompson80
 irenethompson80
 irenethompson80
 irenethompson80
Copyright© 2012 Tutzor All Rights Reserved | Developed by: Iceous Design