

 ilovegraphics
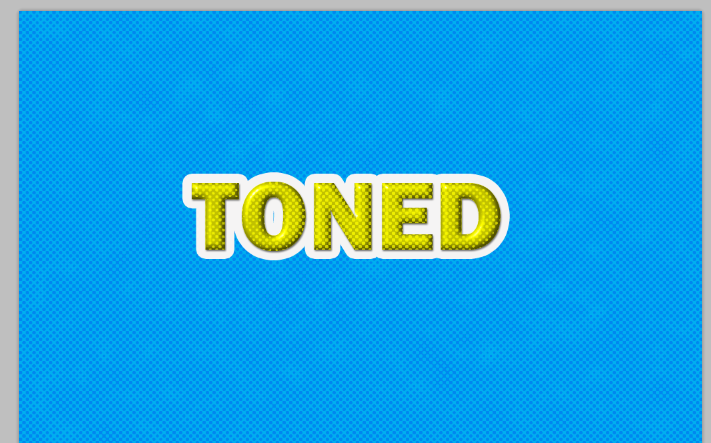
This tutorial is perfect if you’re designing something with a retro or, when tweaked correctly, a comic-book style theme. There are many creative, unusual and highly visible text effects that you can use for your cool brochures and booklets to go retro but one thing you should try is the halftone text effect.
 ilovegraphics
 ilovegraphics
 ilovegraphics
 ilovegraphics
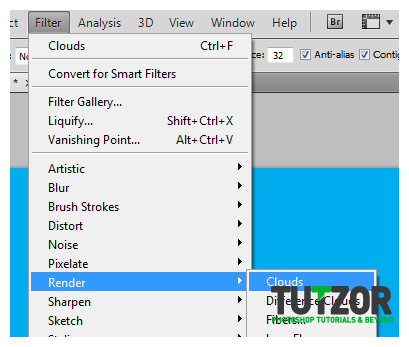 ilovegraphics
 ilovegraphics
 ilovegraphics
 ilovegraphics
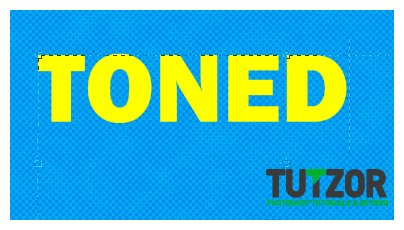 ilovegraphics
 ilovegraphics
 ilovegraphics
 ilovegraphics
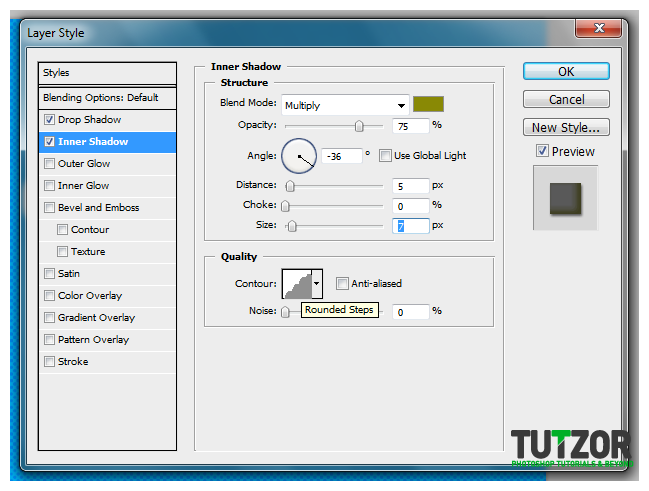 ilovegraphics
 ilovegraphics
 ilovegraphics
 ilovegraphics
 ilovegraphics
 ilovegraphics
 ilovegraphics
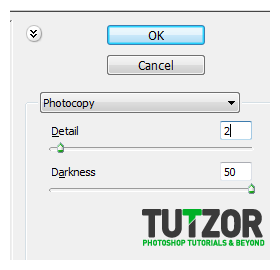 ilovegraphics
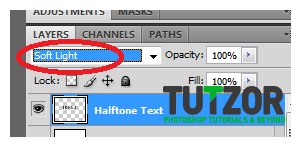 ilovegraphics
Copyright© 2012 Tutzor All Rights Reserved | Developed by: Iceous Design


Comments
Re: Photoshop Tricks: Getting That Halftone Effect For Your Title Text
Re: Photoshop Tricks: Getting That Halftone Effect For Your Title Text