

 cosmin
Hi everybody,
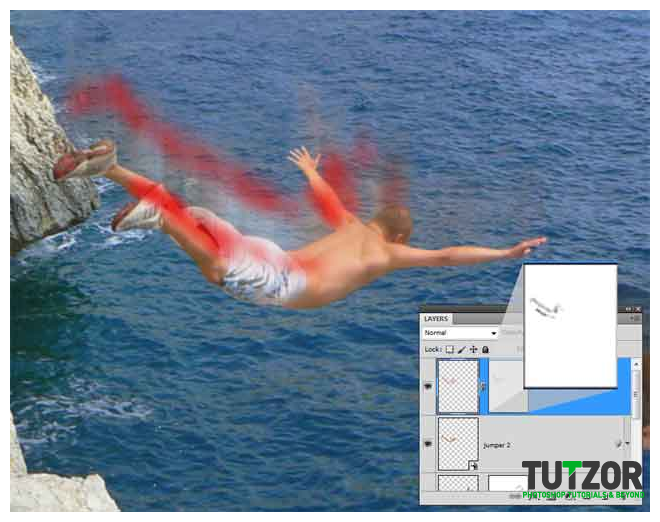
I'm going to show you how to use the puppet warp future in Photoshop CS5 but first download the images you need from sxc.hu.
 cosmin
 cosmin
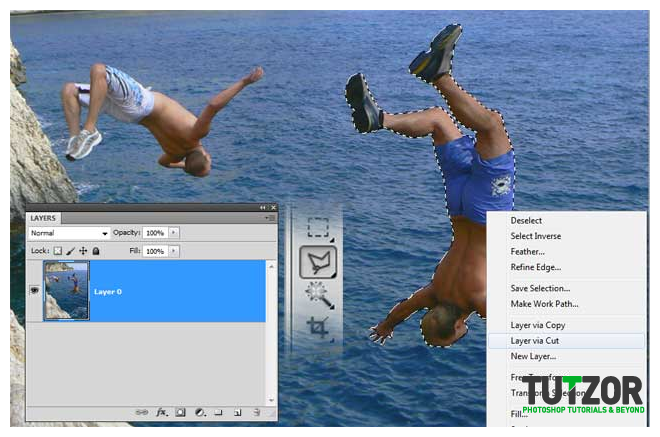 cosmin
 cosmin
 cosmin
 cosmin
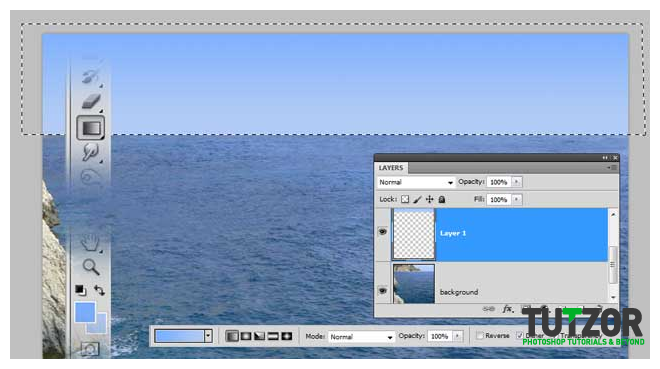 cosmin
 cosmin
 cosmin
 cosmin
 cosmin
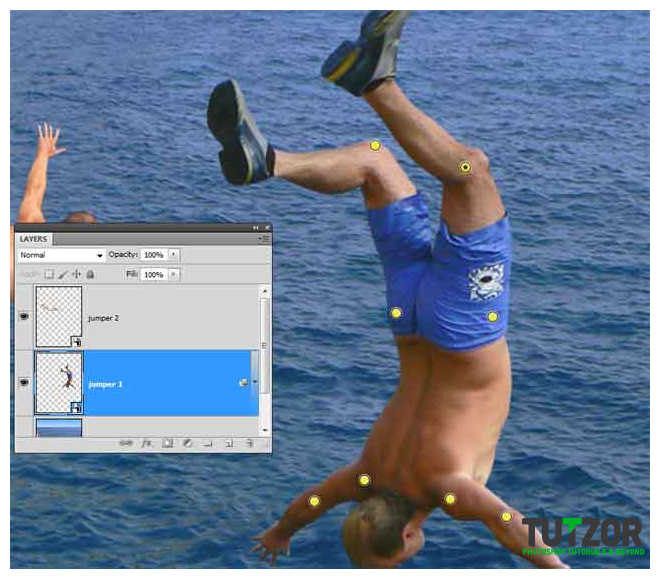 cosmin
 cosmin
 cosmin
 cosmin
 cosmin
 cosmin
 cosmin
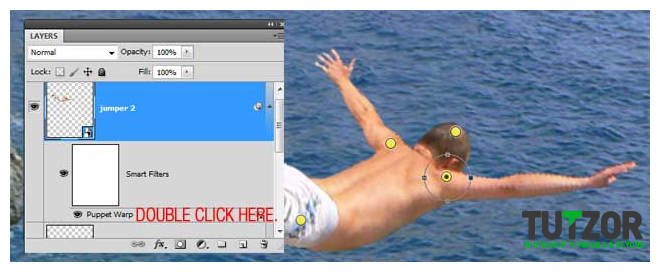 cosmin
 cosmin
 cosmin
 cosmin
 cosmin
 cosmin
 cosmin
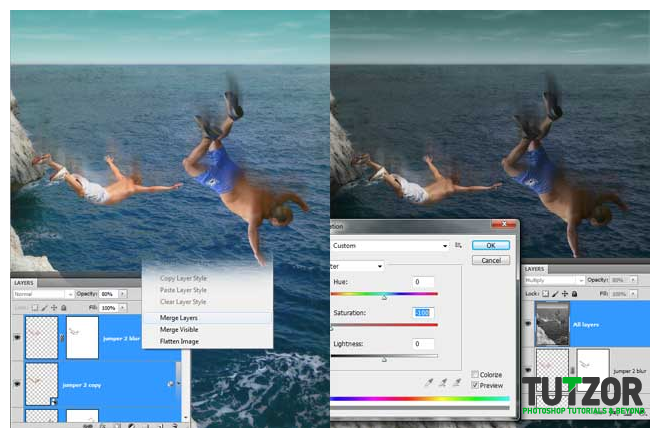
Copyright© 2012 Tutzor All Rights Reserved | Developed by: Iceous Design


Comments
Re: How to use puppet warp - CS5 New Feature Tutorial
hey,
thanks! actually there are a couple of years behind:)
Re: How to use puppet warp - CS5 New Feature Tutorial
Hey how are you?, I saw this execellent work, I really think you' re great. Did you study to can make these things?, if not you're awesome cosmin.
Thank you for this great tutorial.. I love CS5.
http://iapdesign.com
Photoshop Clipping Path
Inspirational to say the least! Some gorgeous imaginations at work!
http://www.manualclippingpath.com/
Re: How to use puppet warp - CS5 New Feature Tutorial
beautiful tips you sharing. thanks
http://www.tutoriallounge.com