

 ilovegraphics
While designing brochures is a bit tricky given its folded nature, creating a simple but very stylish eco themed brochure is still fairly easy using Photoshop.
 ilovegraphics
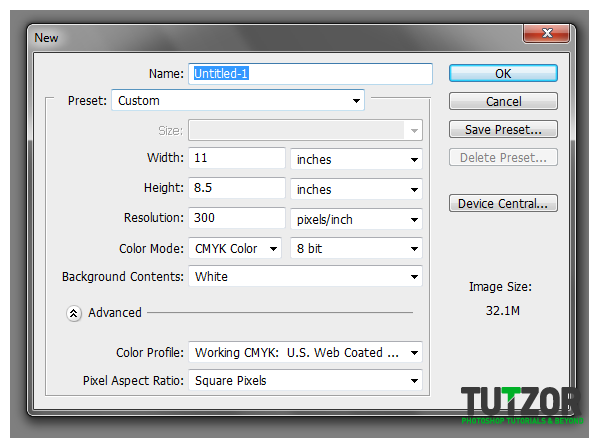 ilovegraphics
 ilovegraphics
 ilovegraphics
 ilovegraphics
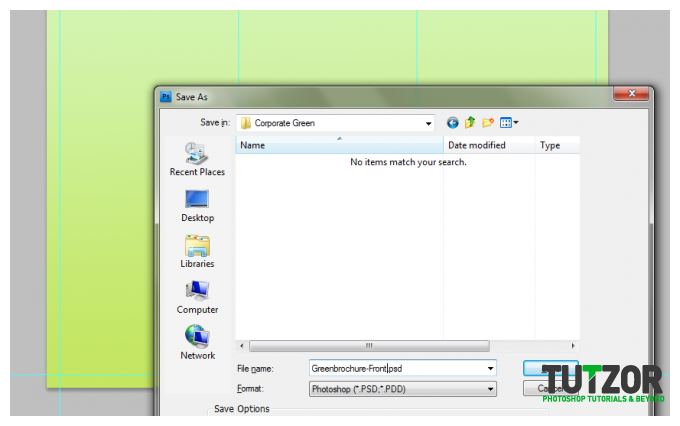 ilovegraphics
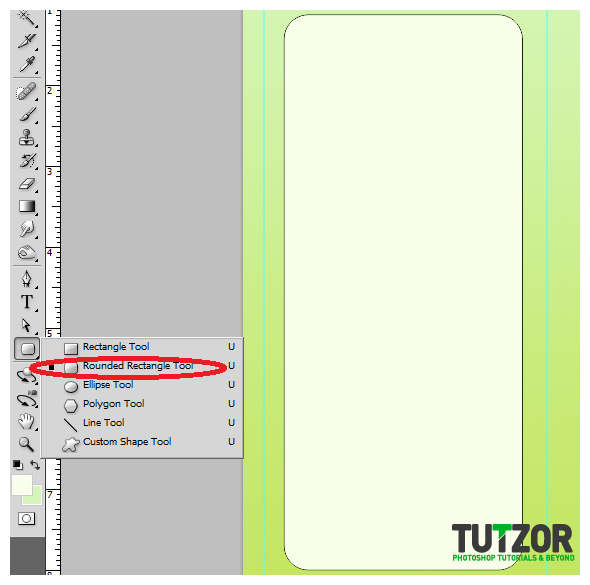 ilovegraphics
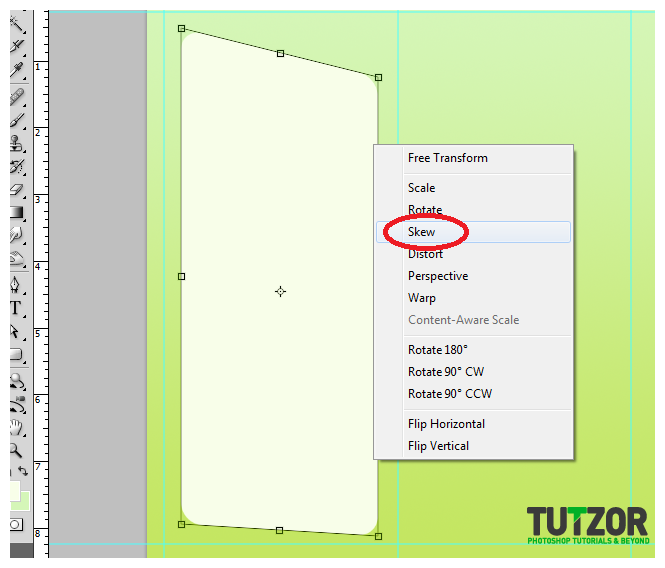 ilovegraphics
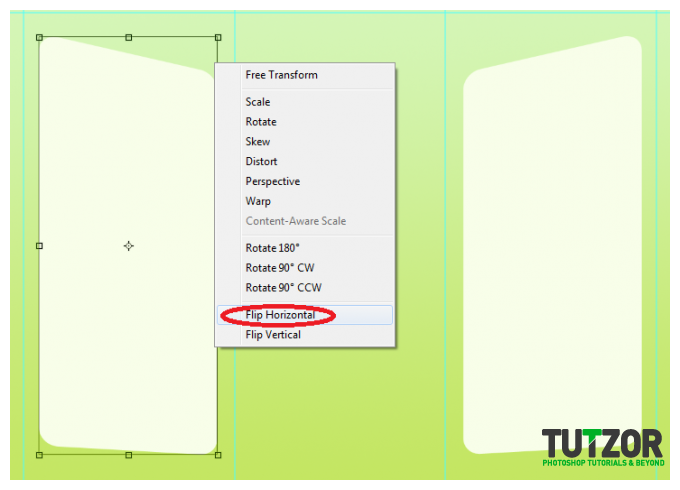 ilovegraphics
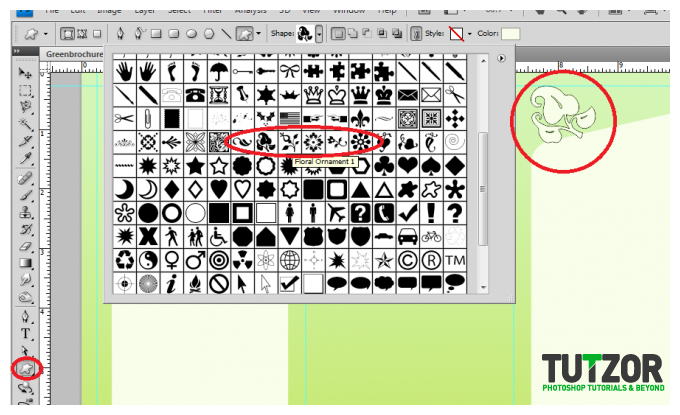 ilovegraphics
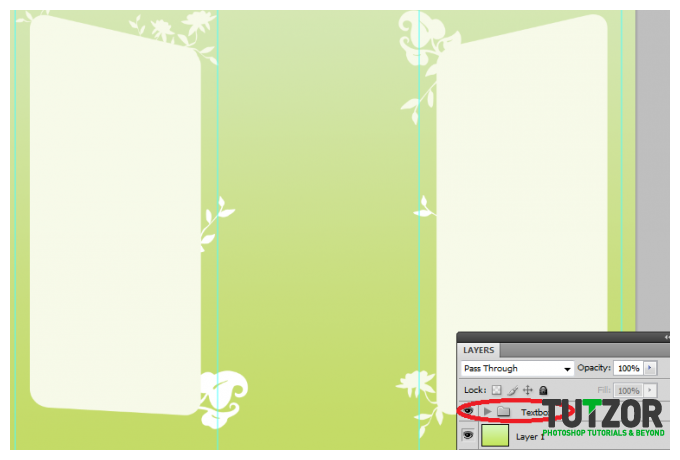 ilovegraphics
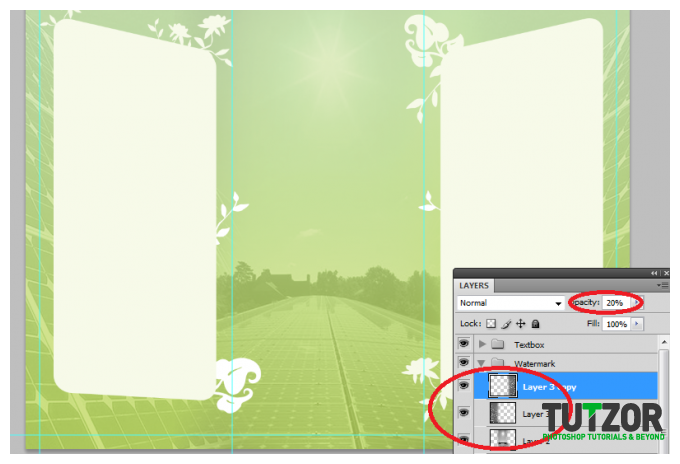 ilovegraphics
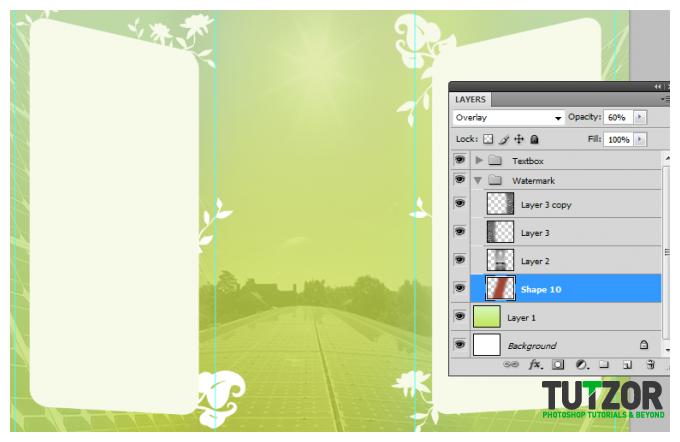 ilovegraphics
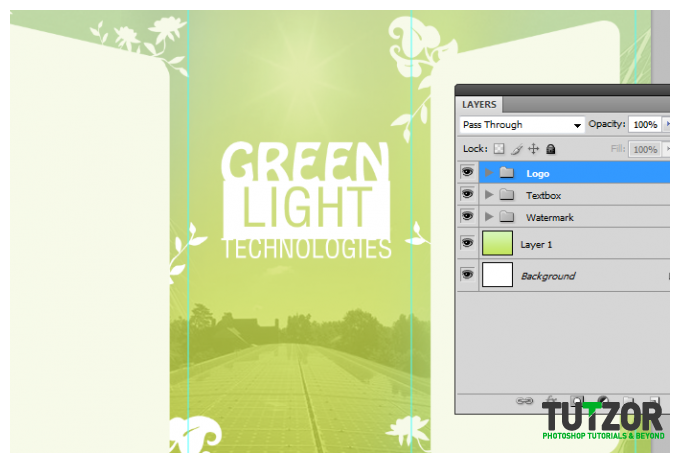 ilovegraphics
 ilovegraphics
 ilovegraphics
 ilovegraphics
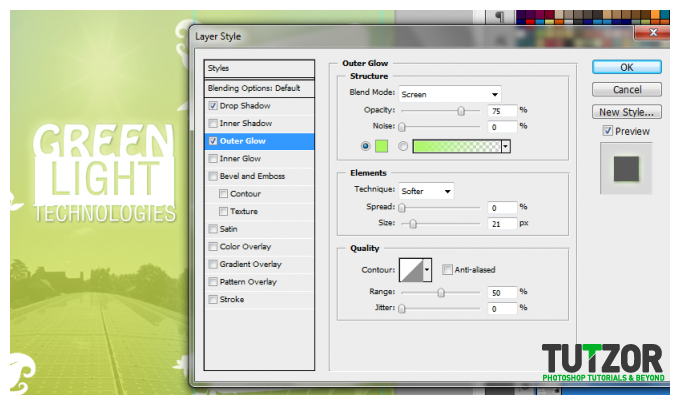 ilovegraphics
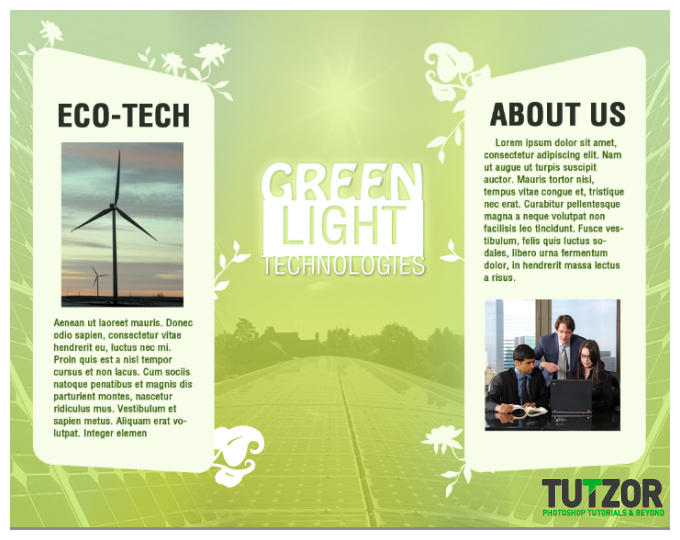 ilovegraphics
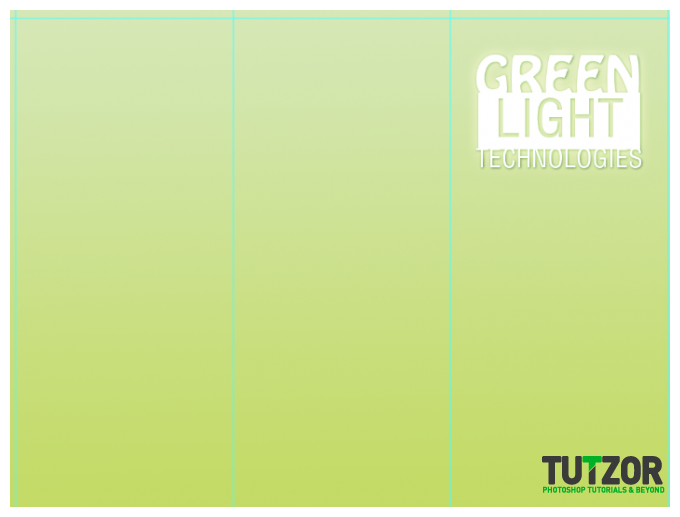 ilovegraphics
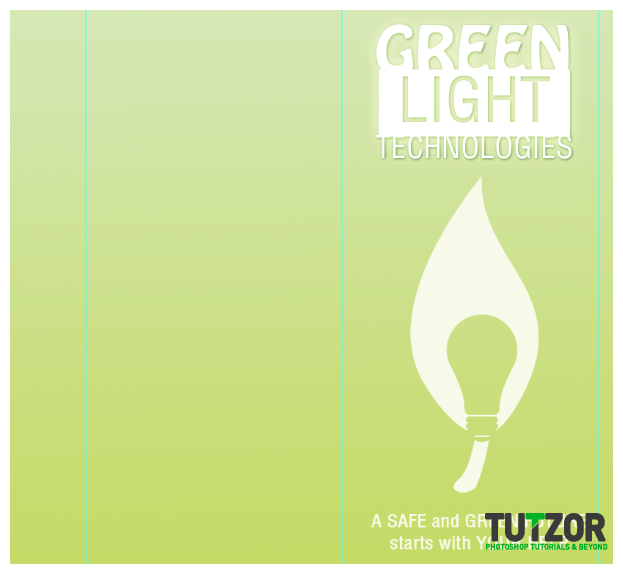 ilovegraphics
 ilovegraphics
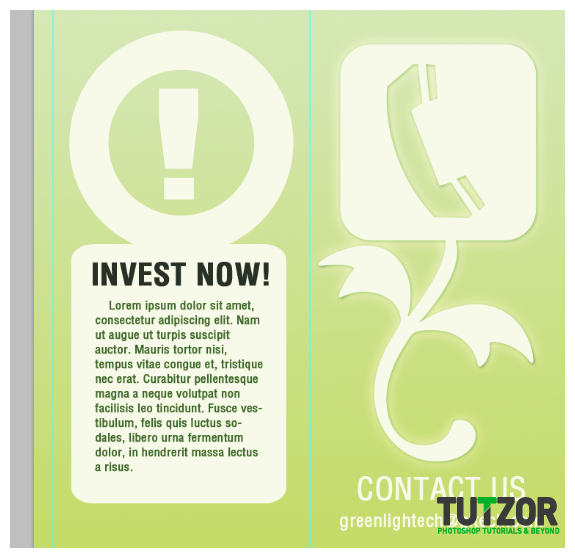 ilovegraphics
Copyright© 2012 Tutzor All Rights Reserved | Developed by: Iceous Design


