

 Cpotorac
In this tutorial I will show you guys how to make a very interesting and sleek Phone Advertising wallpaper.
 Cpotorac
 Cpotorac
 Cpotorac
 Cpotorac
 Cpotorac
 Cpotorac
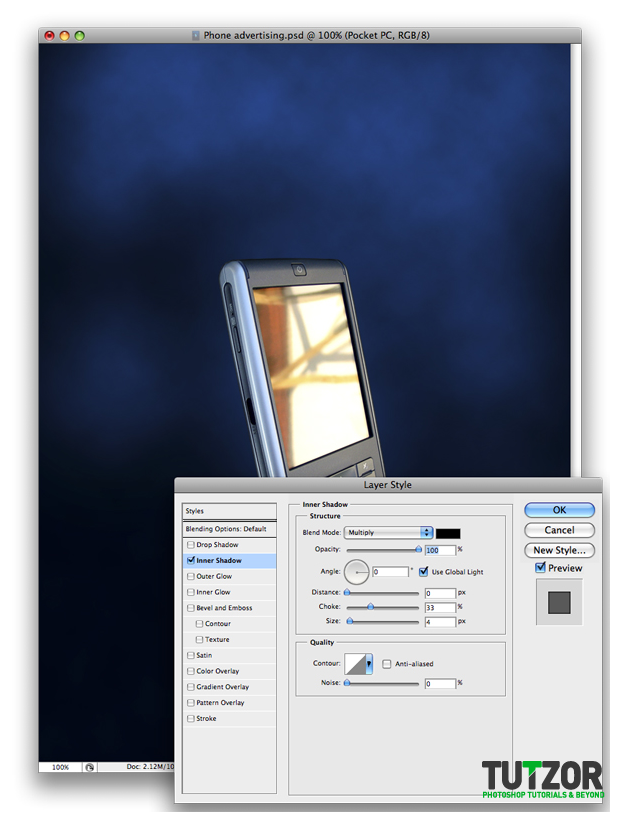 Cpotorac
 Cpotorac
 Cpotorac
 Cpotorac
 Cpotorac
 Cpotorac
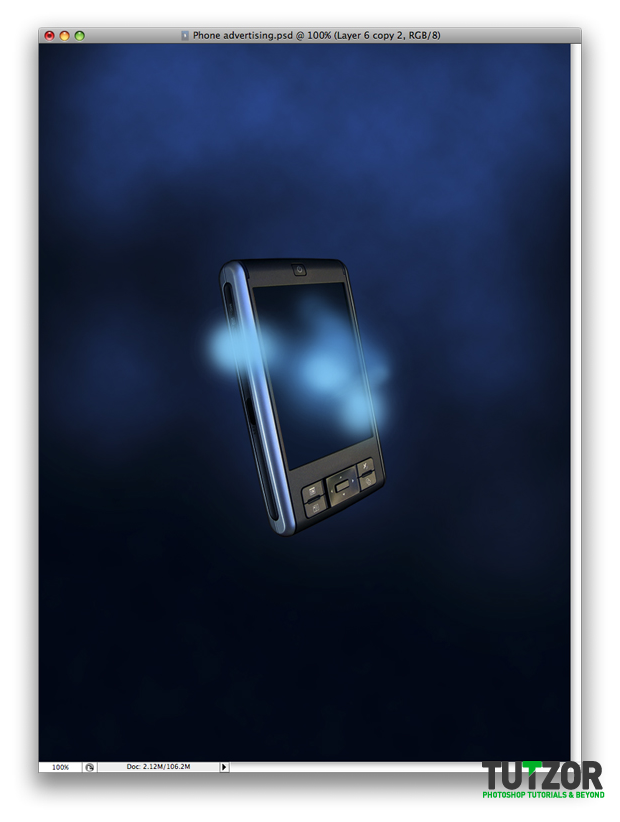 Cpotorac
 Cpotorac
 Cpotorac
 Cpotorac
 Cpotorac
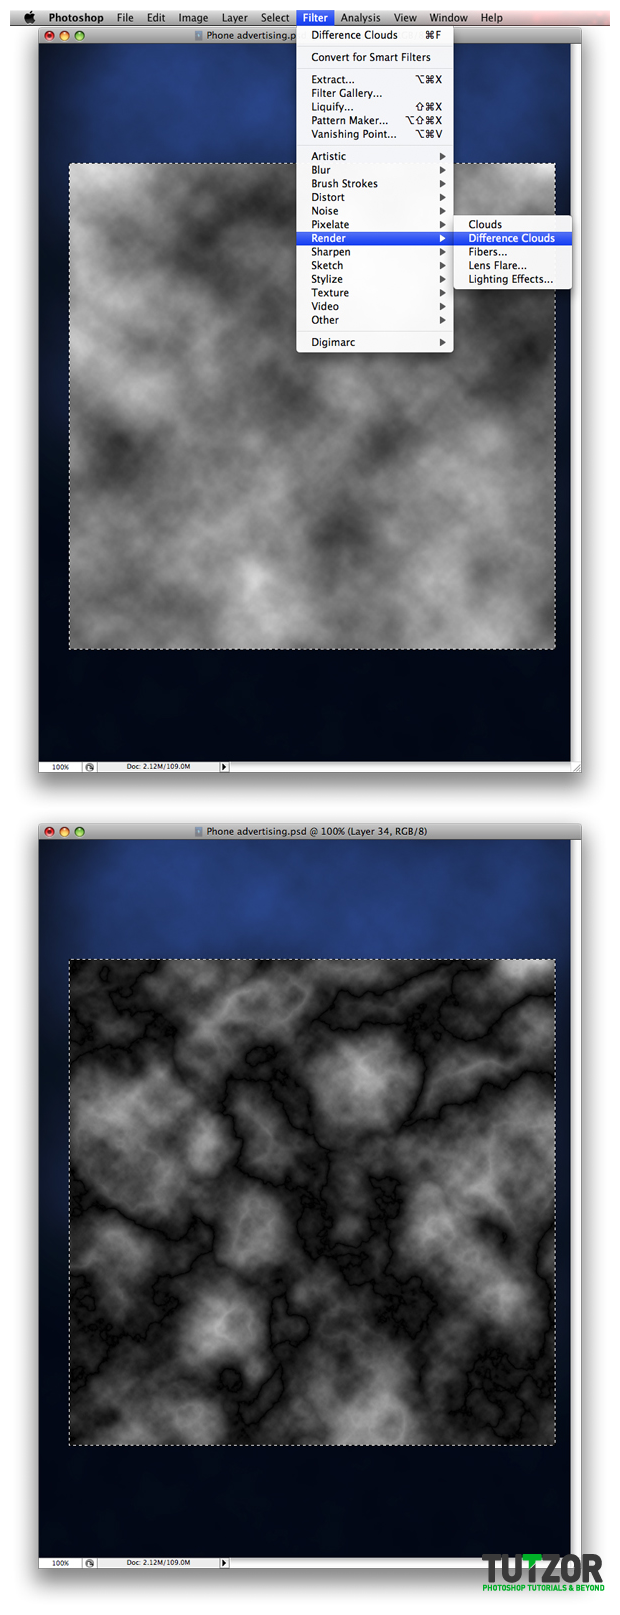 Cpotorac
 Cpotorac
 Cpotorac
 Cpotorac
 Cpotorac
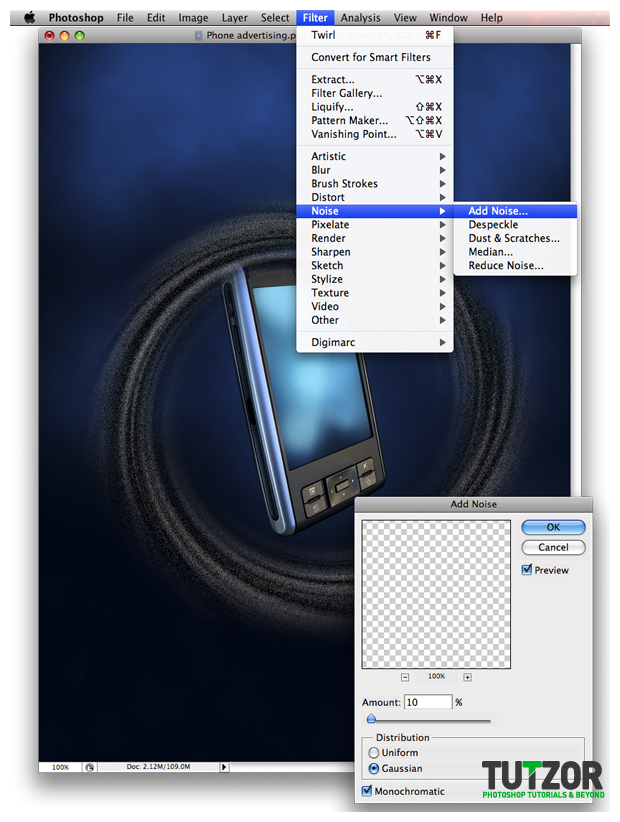 Cpotorac
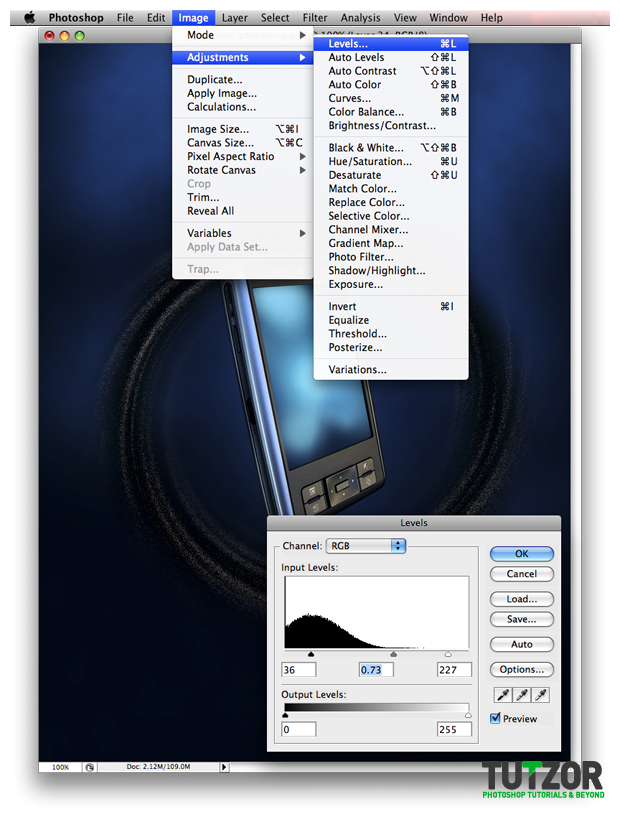 Cpotorac
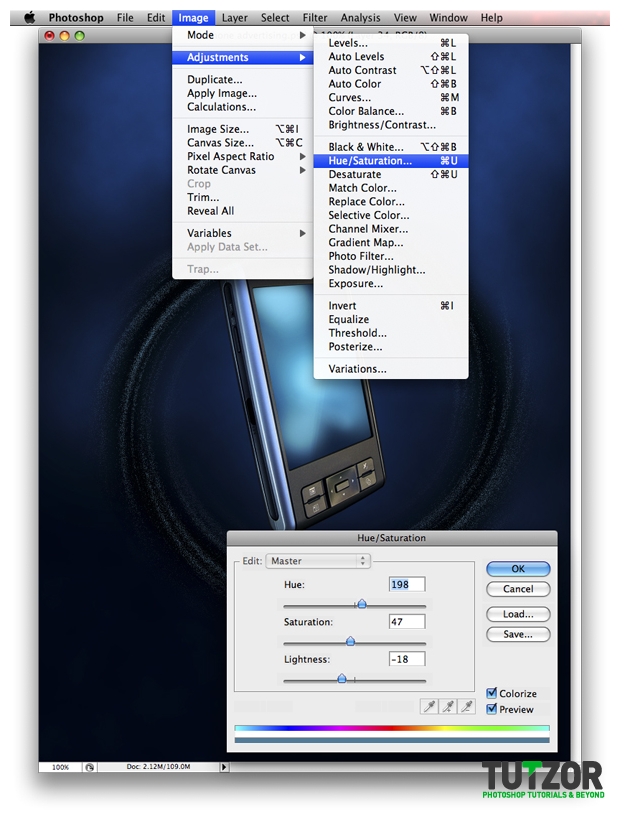 Cpotorac
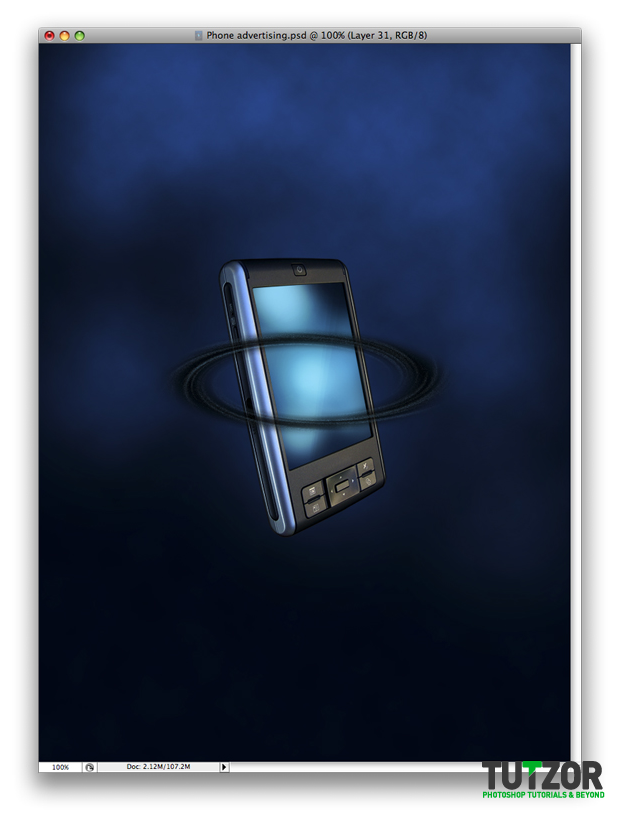
Copyright© 2012 Tutzor All Rights Reserved | Developed by: Iceous Design


Comments
Re: Sleek Phone Advertisement Flyer - PART 1
nice work keep it up
see another site with great tutorials
http://www.tutorials99.com
Re: Sleek Phone Advertisement Flyer - PART 1
Excellent Tutorial. Detailed description of steps. For beginner is one of the best tutorial