

 Cpotorac
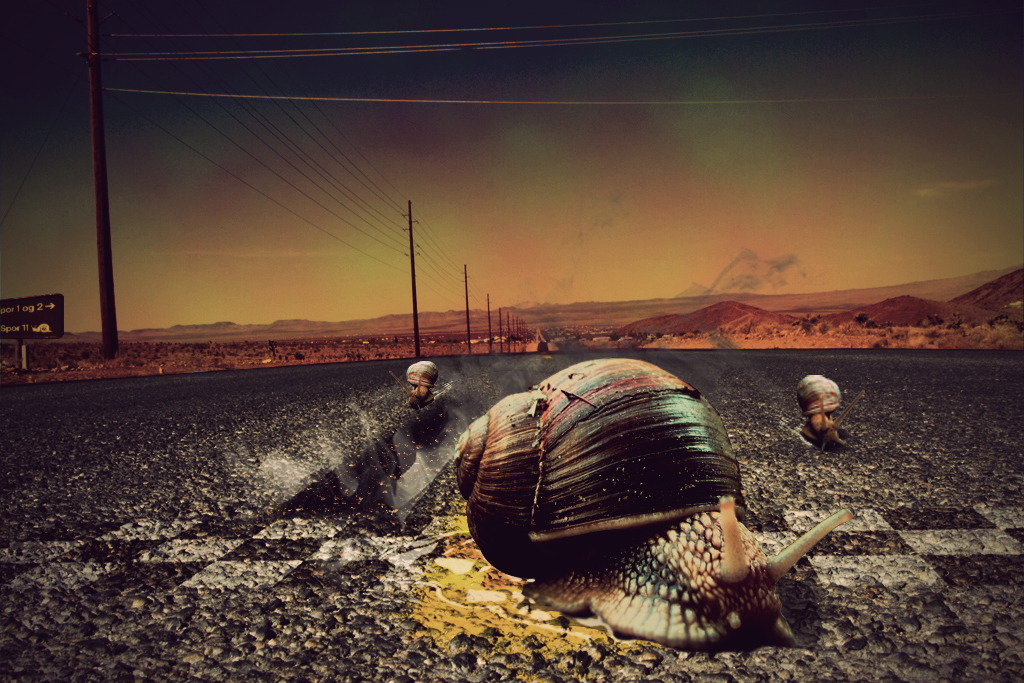
Hi there guys. I have prepared a new tutorial. In this tutorial we will be learning some more photomanipulation but this time different than the first one I did.
 Cpotorac
 Cpotorac
 Cpotorac
 Cpotorac
 Cpotorac
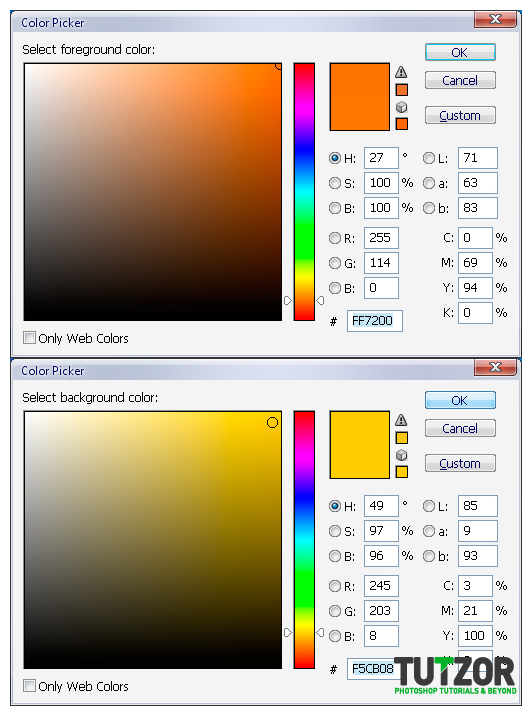 Cpotorac
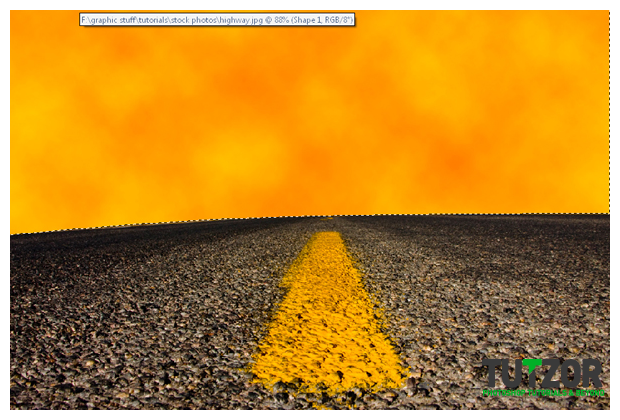 Cpotorac
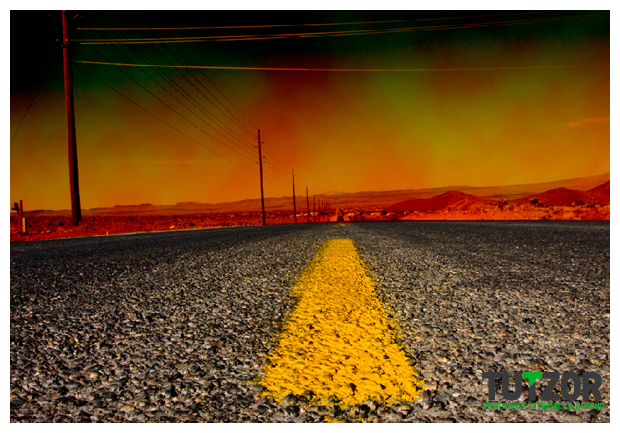 Cpotorac
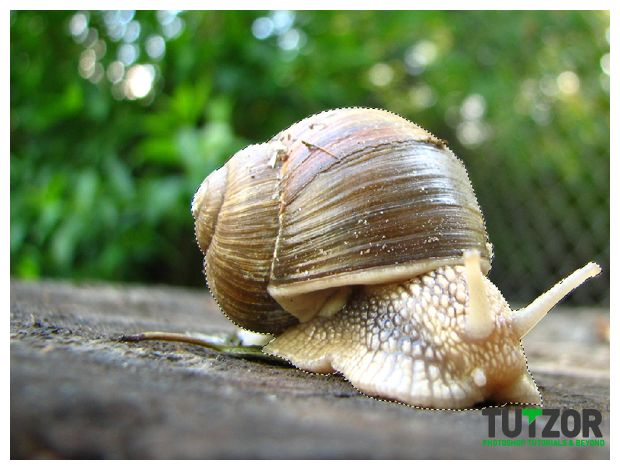 Cpotorac
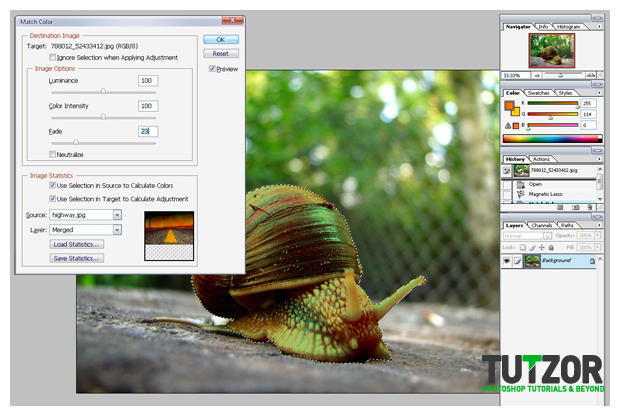 Cpotorac
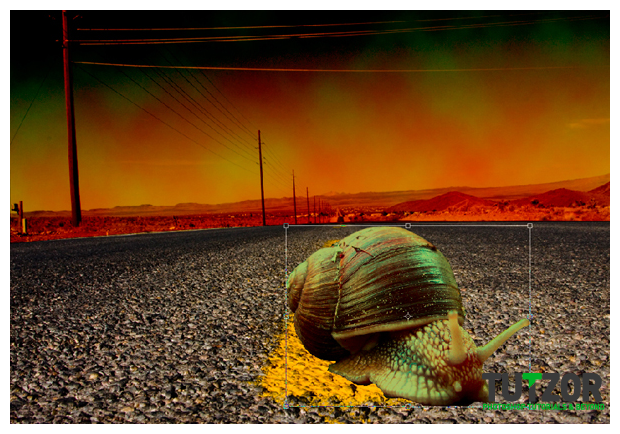 Cpotorac
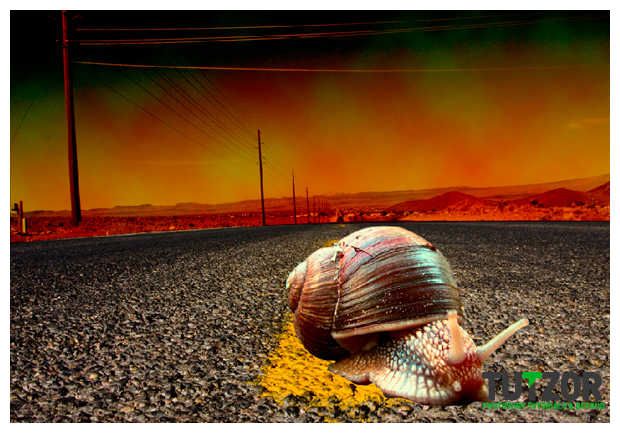 Cpotorac
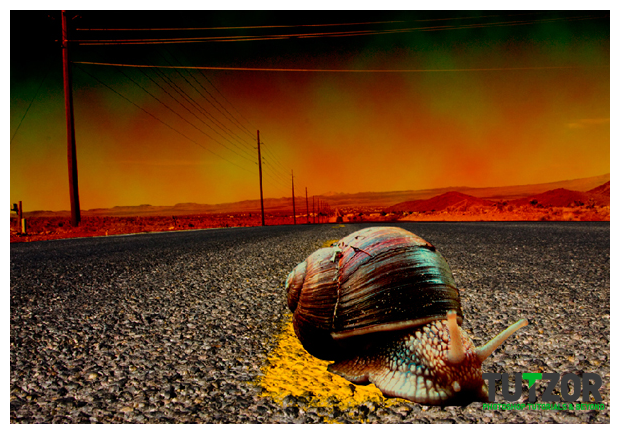 Cpotorac
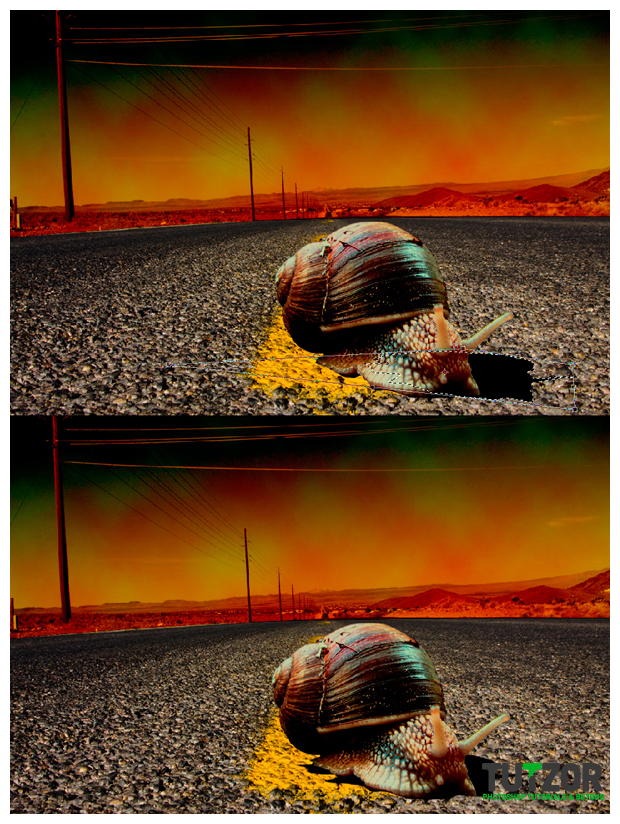 Cpotorac
 Cpotorac
 Cpotorac
 Cpotorac
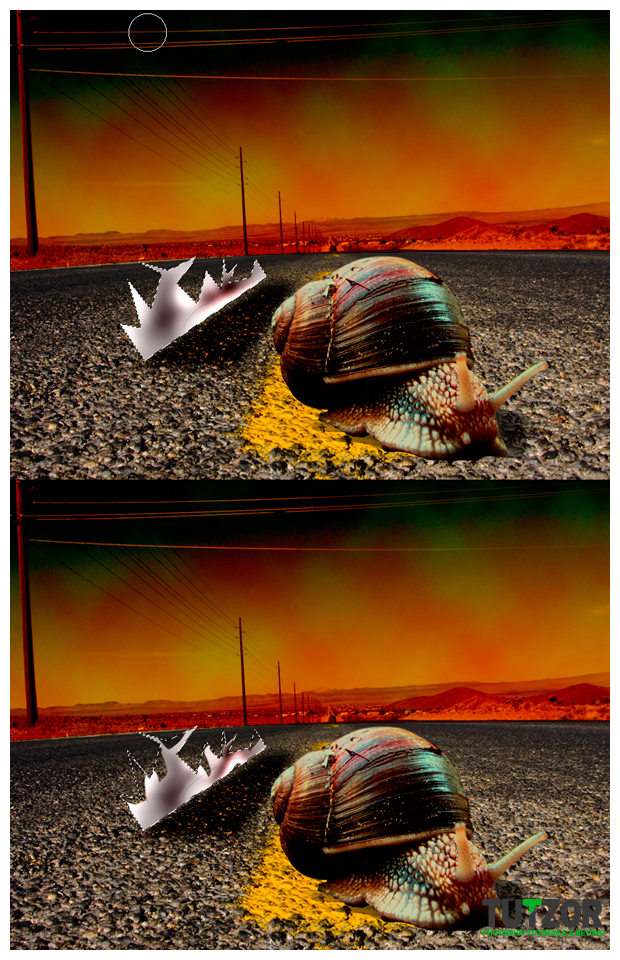 Cpotorac
 Cpotorac
 Cpotorac
 Cpotorac
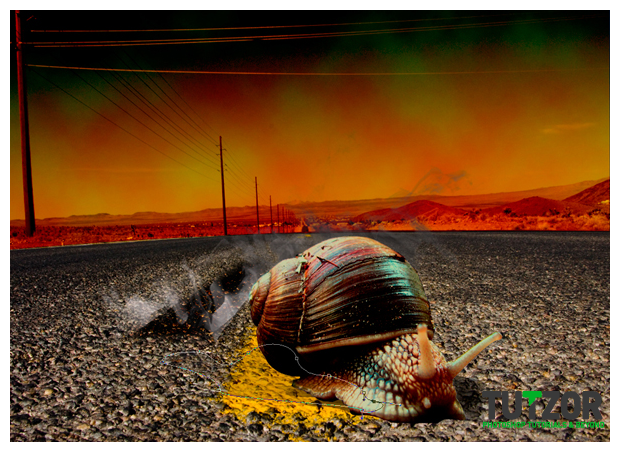 Cpotorac
 Cpotorac
 Cpotorac
 Cpotorac
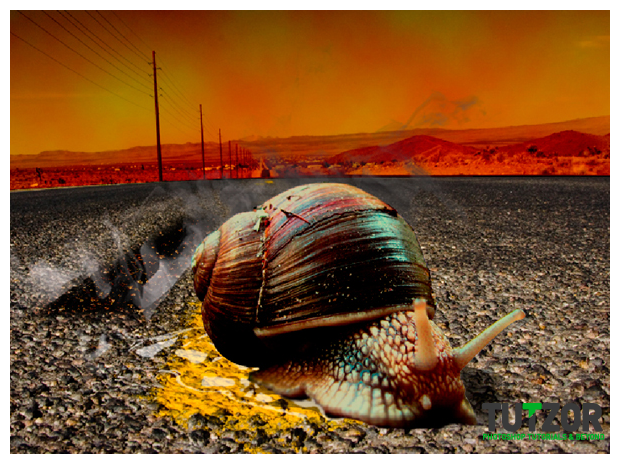
Copyright© 2012 Tutzor All Rights Reserved | Developed by: Iceous Design


Comments
Amazing Tutorial
Thanks very much for this amazing photoshop tutorial.
awesome!
awesome!
the end result looks sweet!
:]