

 sunrise20
In this tutorial, I will show you how to take an ordinary image and to transform it into a beautiful, bright, elegant photo. We will work with the colors and add our own pieces to really enhance the look and feel. With that said, lets get started!
sunrise20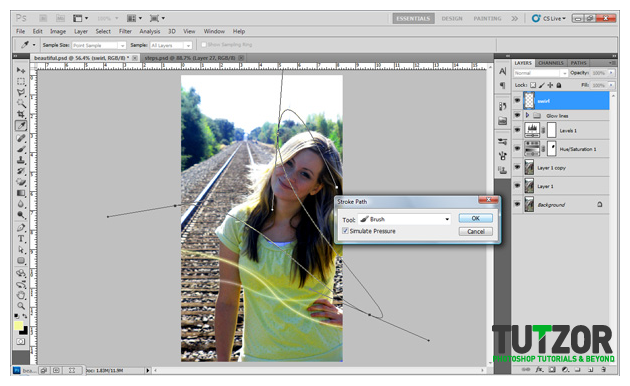
 sunrise20
 sunrise20
 sunrise20
 sunrise20
 sunrise20
 sunrise20
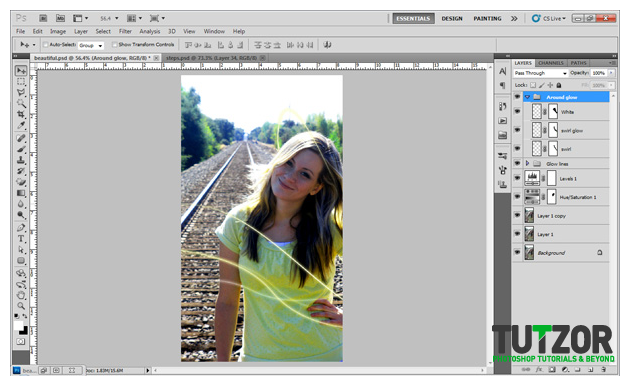 sunrise20
 sunrise20
 sunrise20
 sunrise20
Copyright© 2012 Tutzor All Rights Reserved | Developed by: Iceous Design


Comments
Re: Simple light effect to your everyday photo
Nice tip! You can add effects to your photos at http://www.addeffects.net without installed software