cosmin
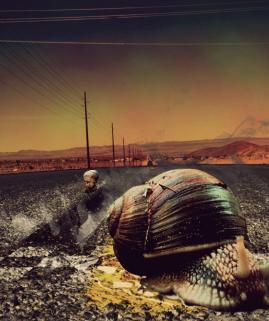
Hi there, today I'm going to show you guys how to create a moonlit night effect.
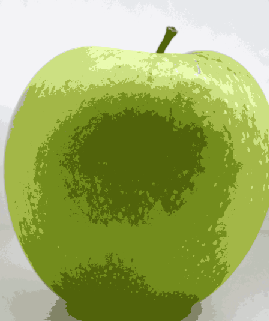
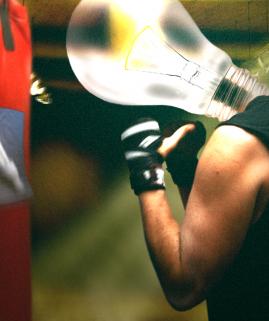
Here are the following images I used:
I was inspired by this tutorial:
http://psd.tutsplus.com/tutorials/photo-effects-tutorials/create-a-moonlit-night-scene-in-photoshop/
 cosmin
 cosmin
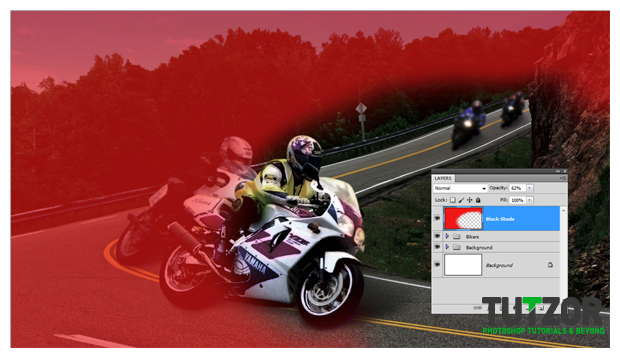 cosmin
 cosmin
 cosmin
 cosmin
 cosmin
 cosmin
 cosmin
 cosmin
 cosmin
 cosmin
 cosmin
 cosmin
 cosmin
 cosmin
 cosmin
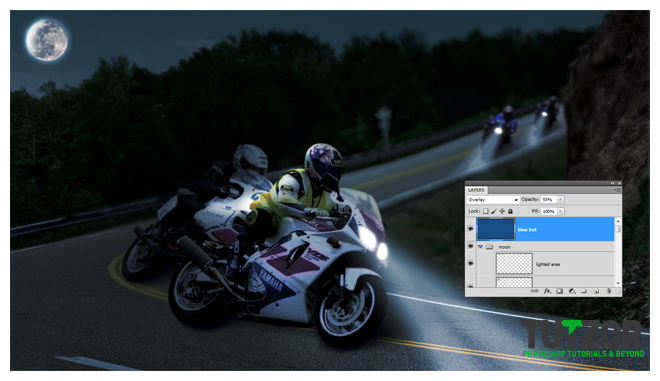 cosmin
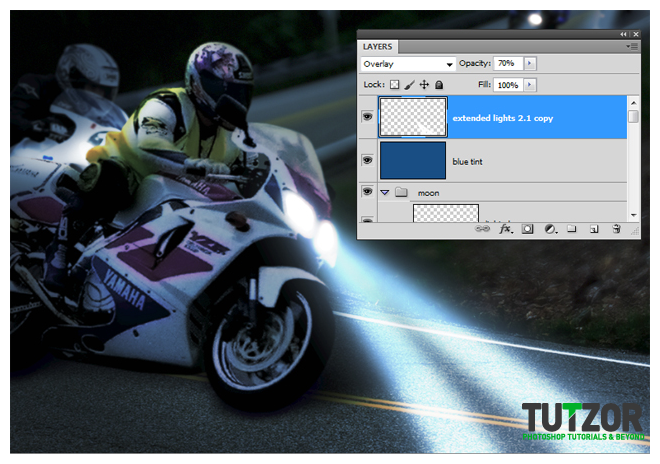 cosmin
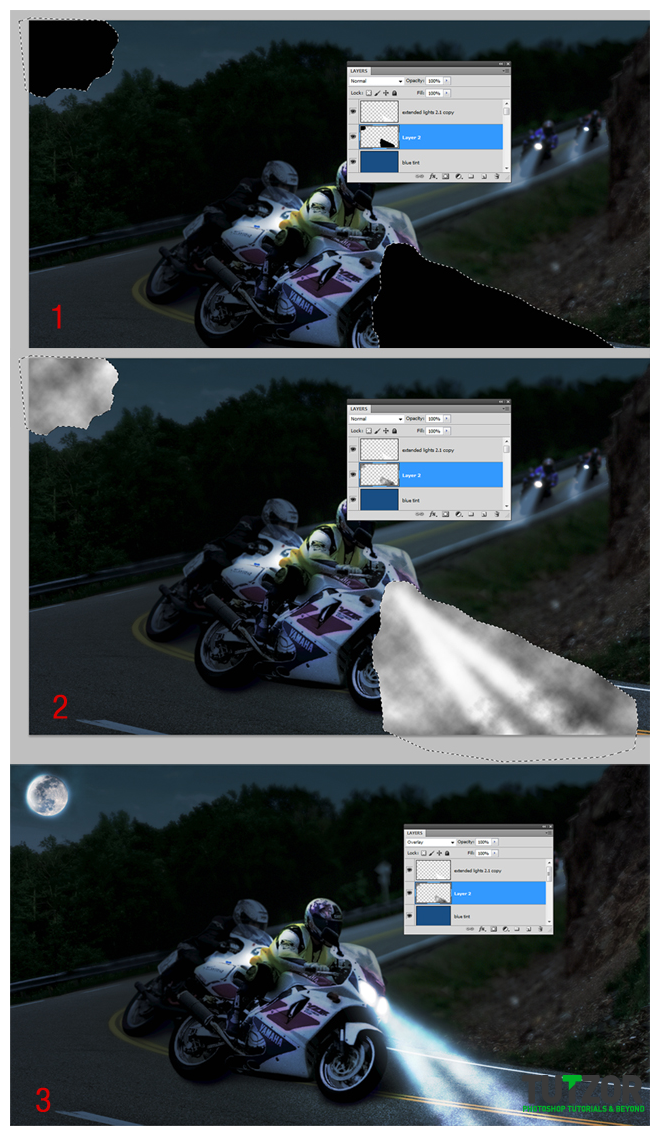 cosmin
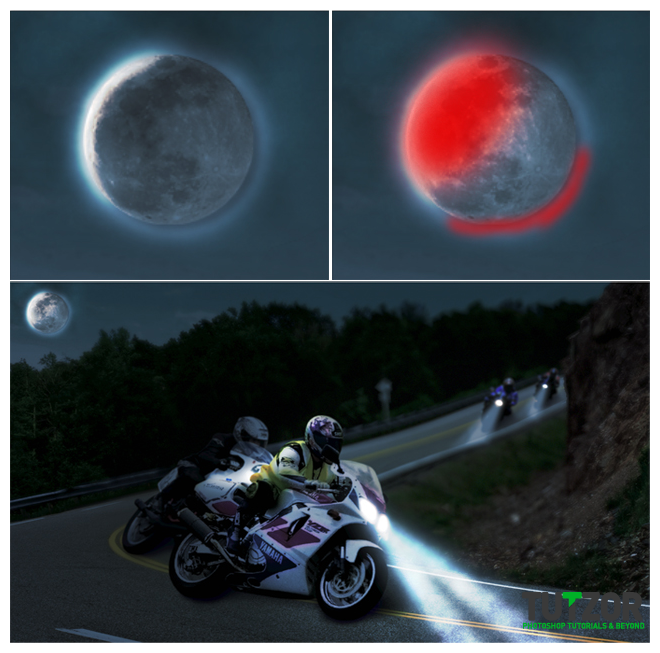 cosmin
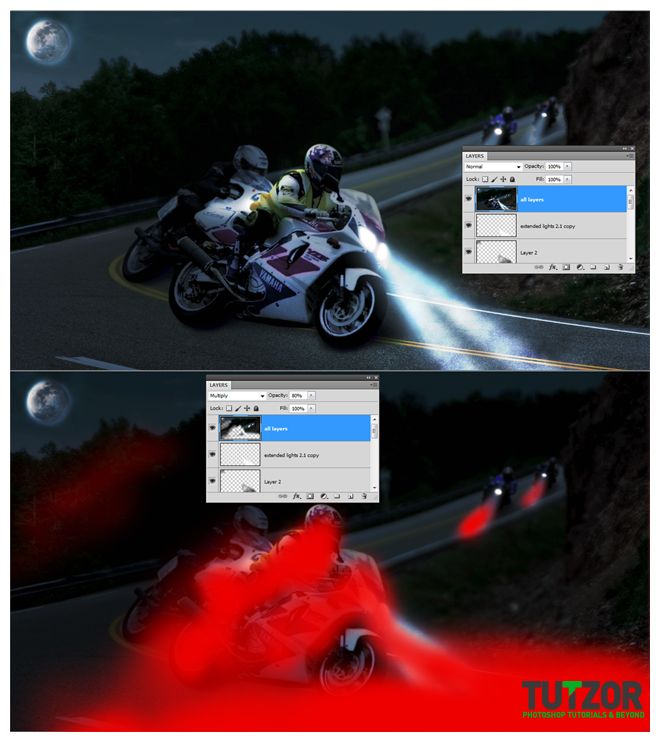 cosmin
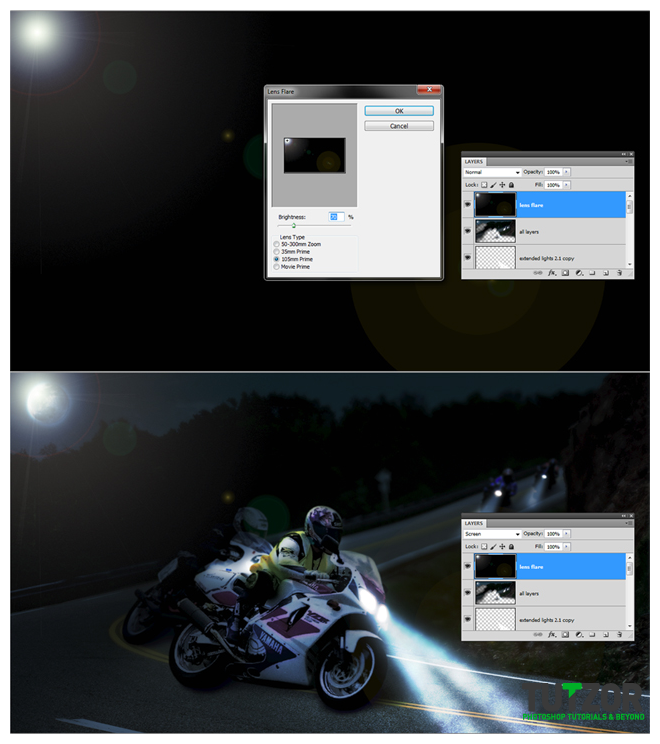 cosmin
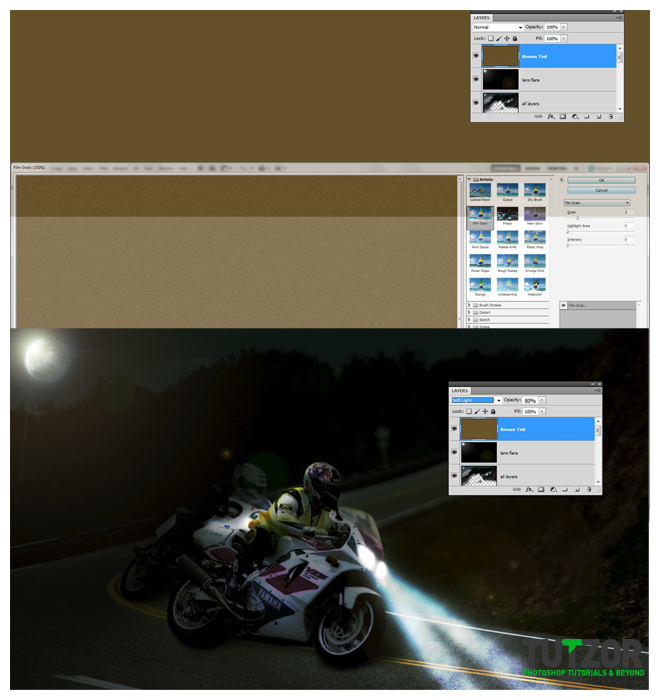 cosmin
Copyright© 2012 Tutzor All Rights Reserved | Developed by: Iceous Design