irenethompson80
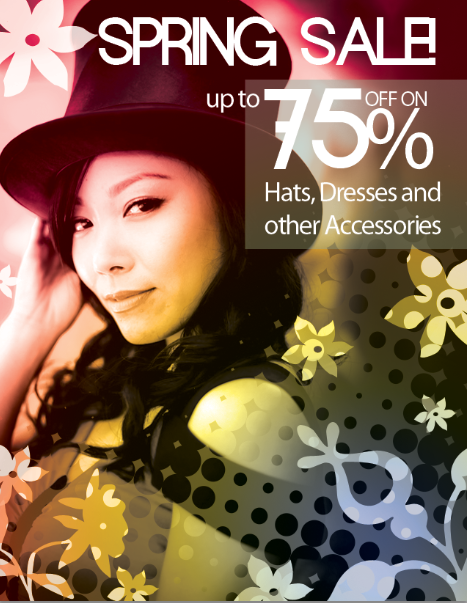
Even amateurs these days can produce a well designed and very impressive fashion flyer designs. In this tutorial, I will talk about how you can design your own fashion sale portrait flyer using Adobe Photoshop.
 irenethompson80
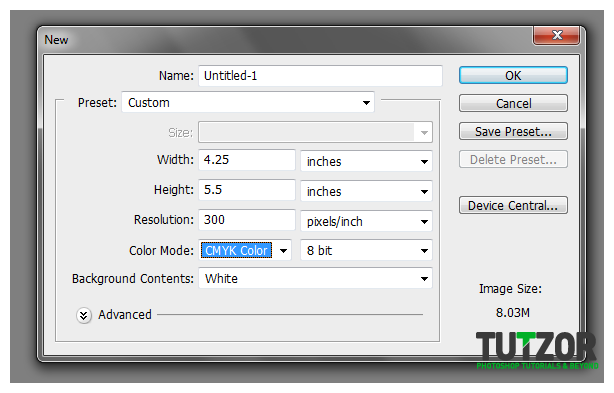 irenethompson80
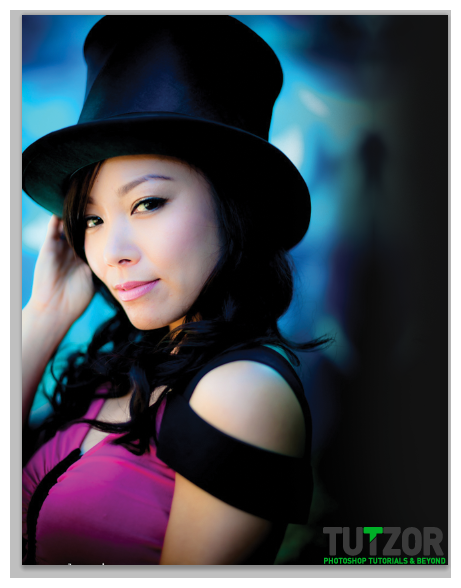 irenethompson80
 irenethompson80
 irenethompson80
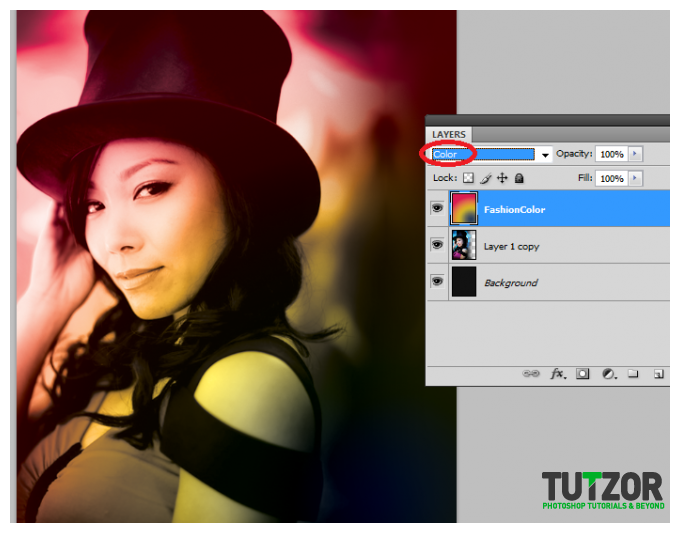 irenethompson80
 irenethompson80
 irenethompson80
 irenethompson80
 irenethompson80
 irenethompson80
 irenethompson80
 irenethompson80
 irenethompson80
 irenethompson80
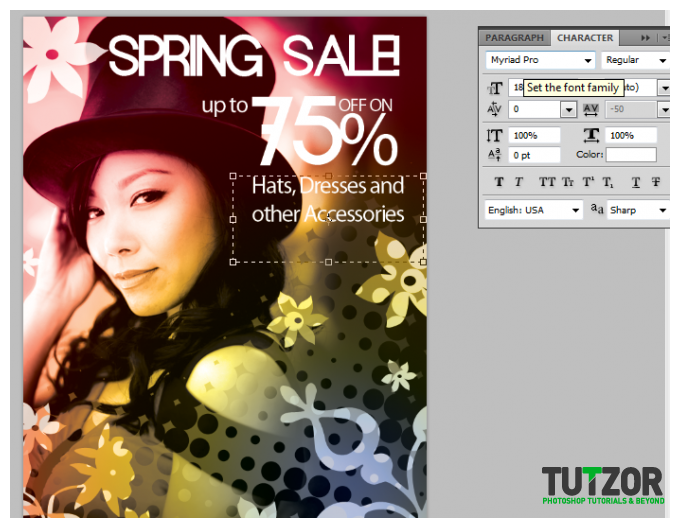 irenethompson80
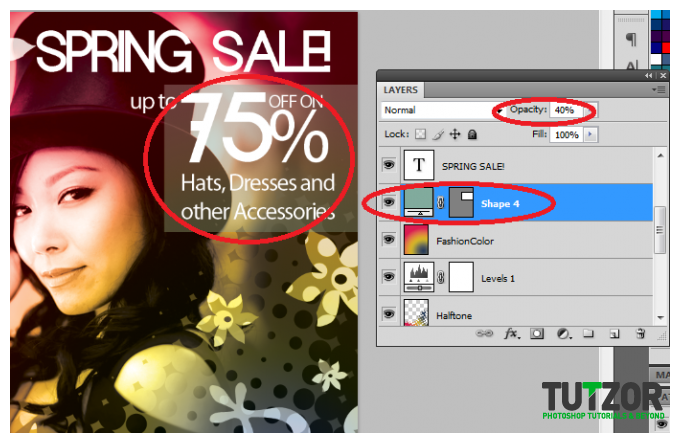 irenethompson80
Copyright© 2012 Tutzor All Rights Reserved | Developed by: Iceous Design