

 ilovegraphics
If your design needs a bright and shiny title, this special Adobe Photoshop tutorial is for you. This tutorial will illustrate how you can convert simple colored text titles into bright and shiny text that gives that extra visibility to any design.
 ilovegraphics
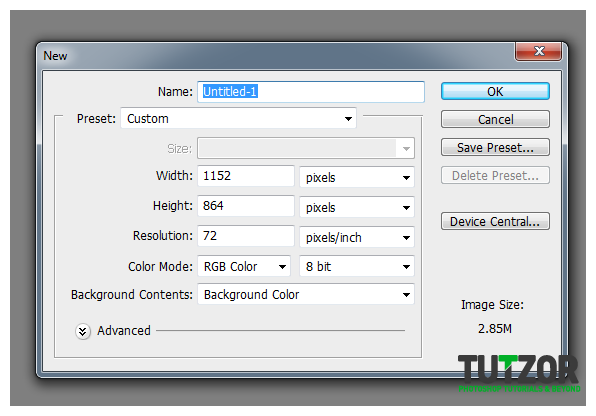 ilovegraphics
 ilovegraphics
 ilovegraphics
 ilovegraphics
 ilovegraphics
 ilovegraphics
 ilovegraphics
 ilovegraphics
 ilovegraphics
 ilovegraphics
 ilovegraphics
 ilovegraphics
 ilovegraphics
 ilovegraphics
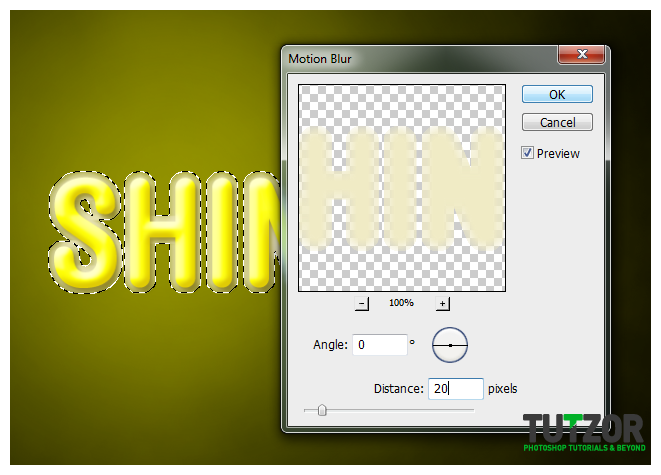 ilovegraphics
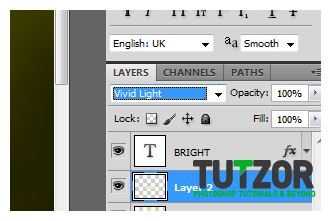 ilovegraphics
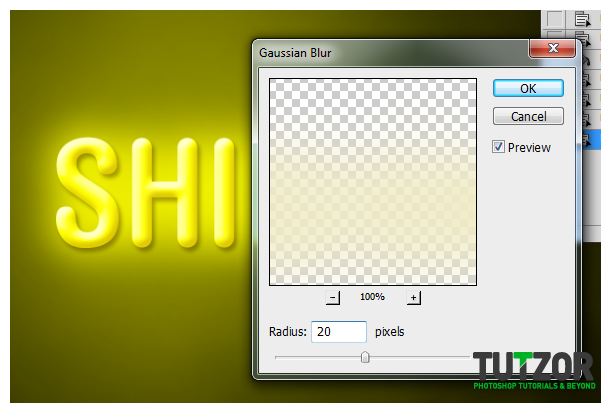 ilovegraphics
 ilovegraphics
 ilovegraphics
Copyright© 2012 Tutzor All Rights Reserved | Developed by: Iceous Design


