

 Cpotorac
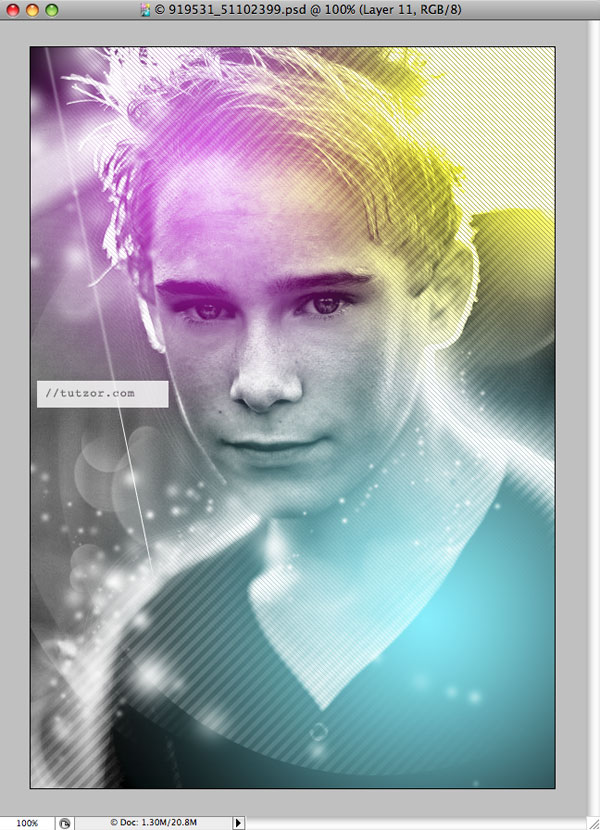
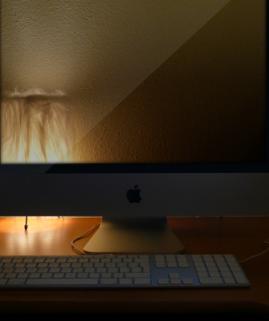
I was playing around with Photoshop these days and discovered a great effect that I think you guys will find usefull.
 Cpotorac
 Cpotorac
 Cpotorac
 Cpotorac
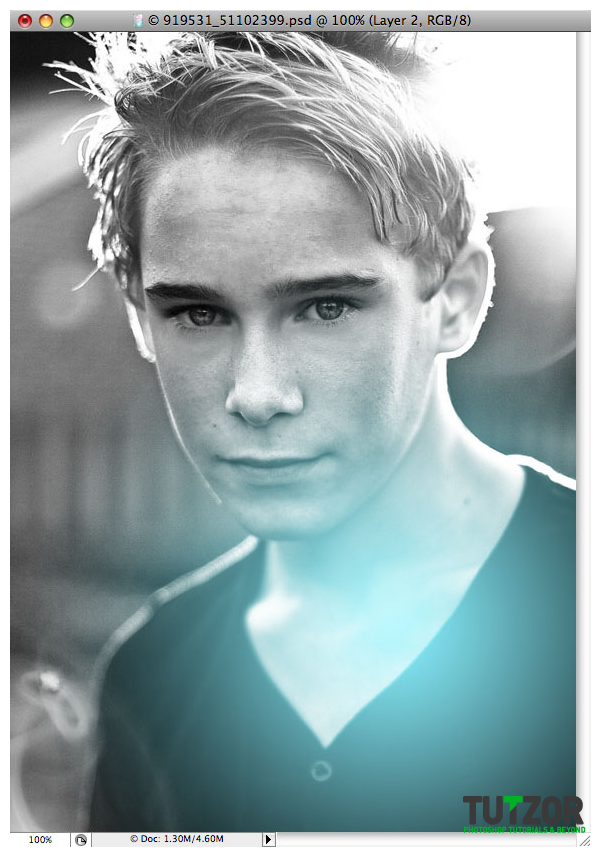 Cpotorac
 Cpotorac
 Cpotorac
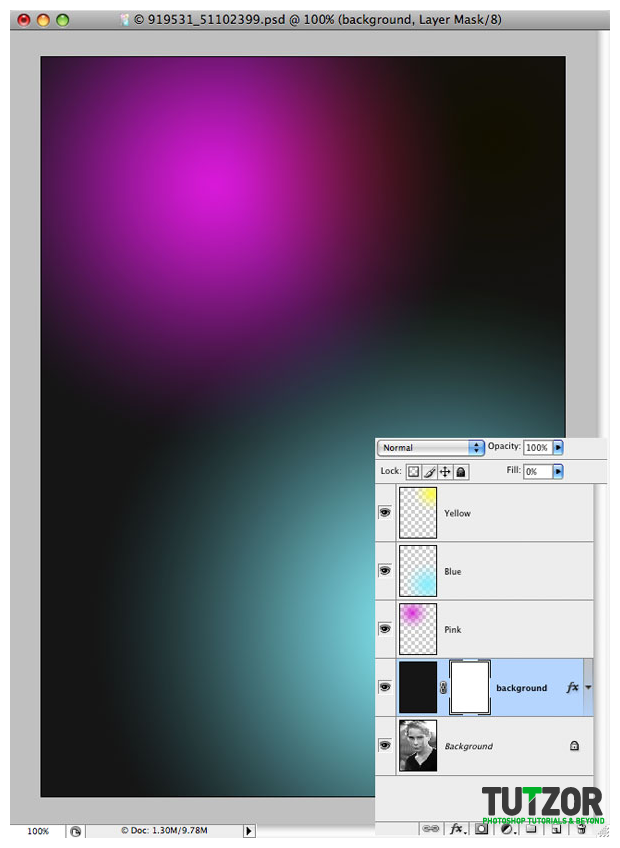 Cpotorac
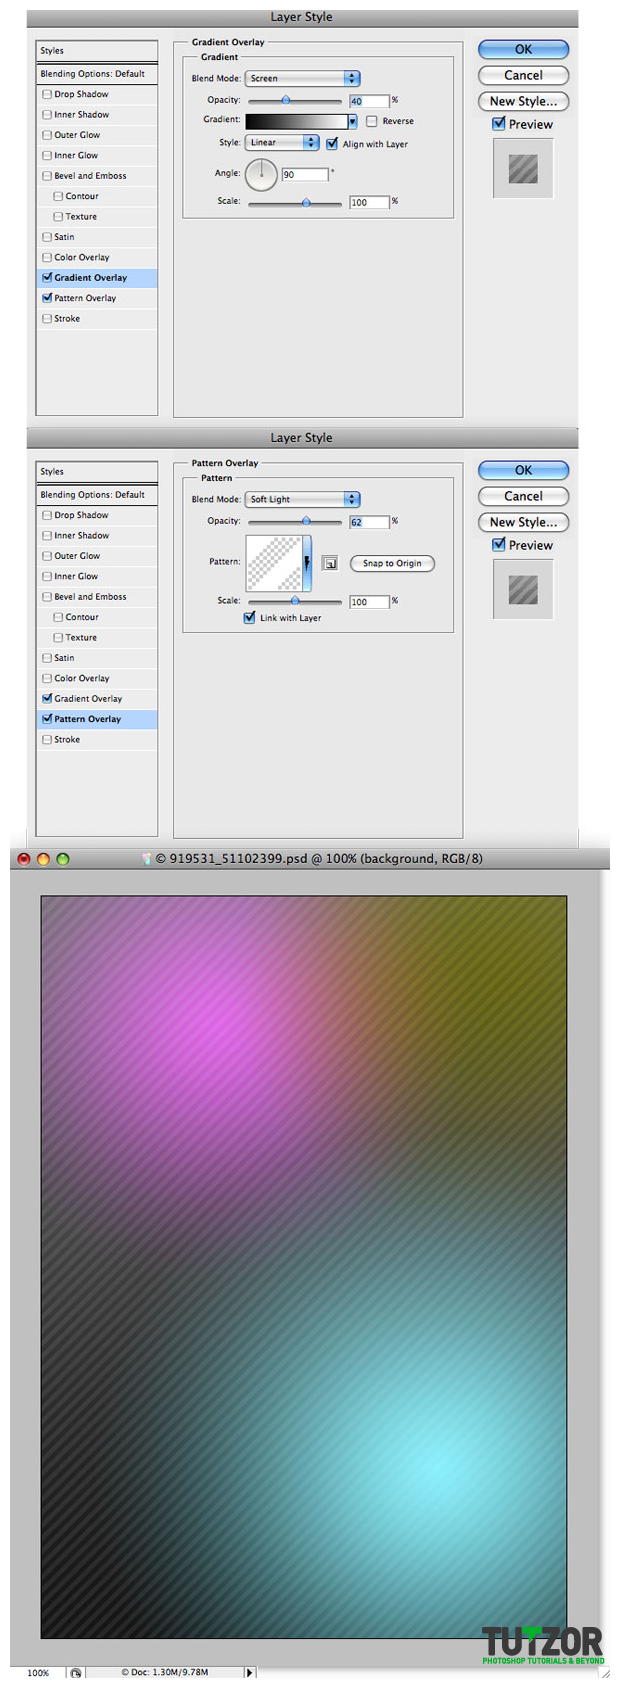 Cpotorac
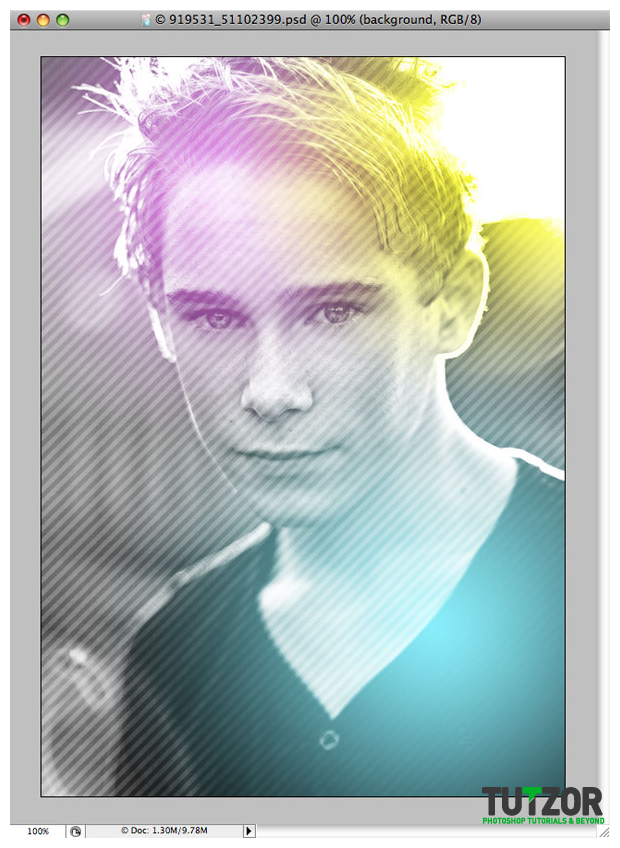 Cpotorac
 Cpotorac
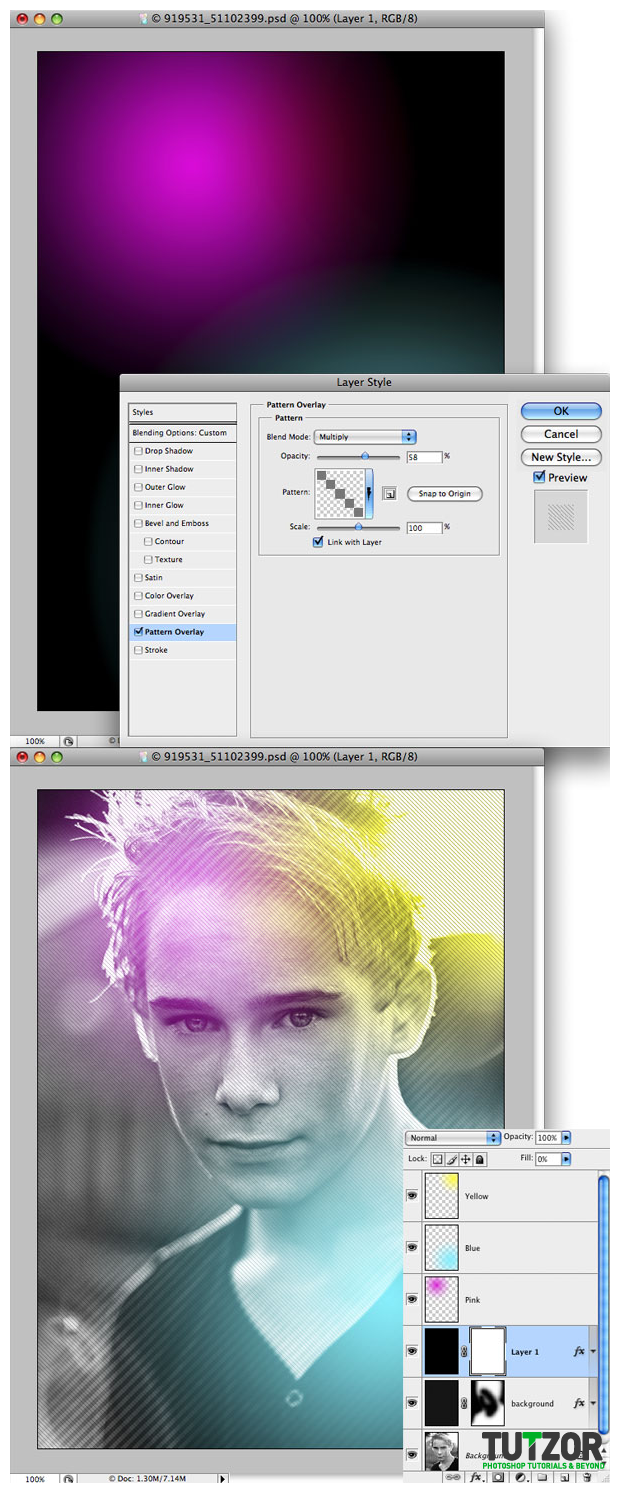 Cpotorac
 Cpotorac
 Cpotorac
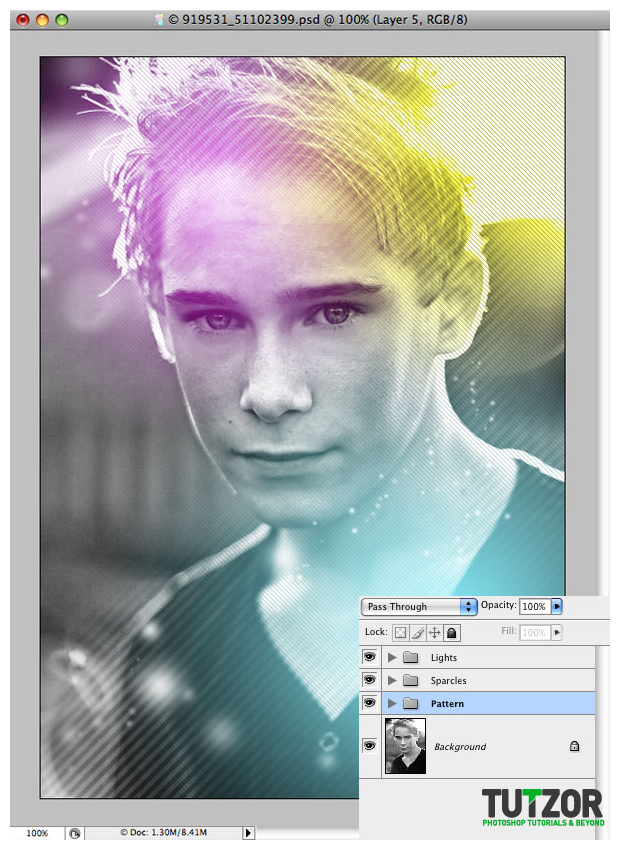 Cpotorac
 Cpotorac
 Cpotorac
 Cpotorac
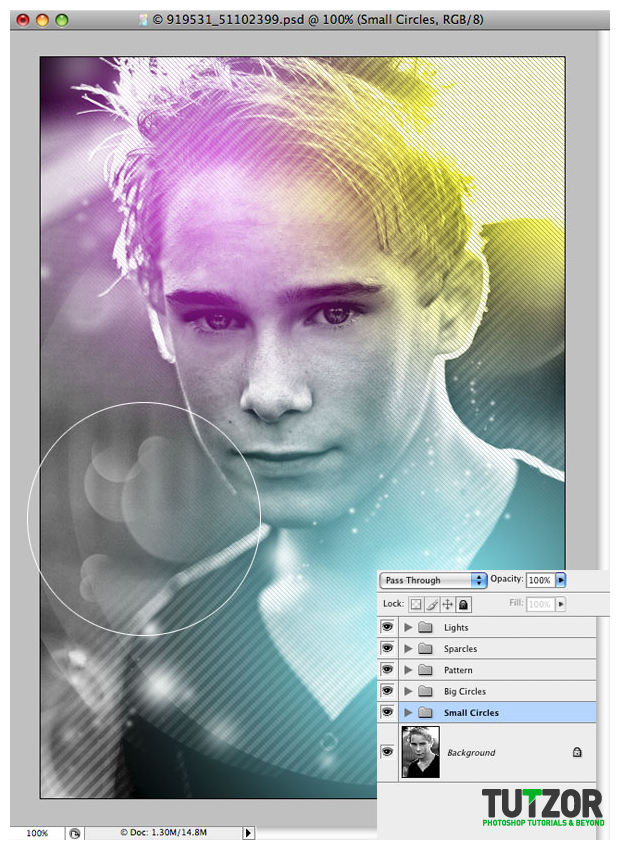 Cpotorac
 Cpotorac
 Cpotorac
 Cpotorac
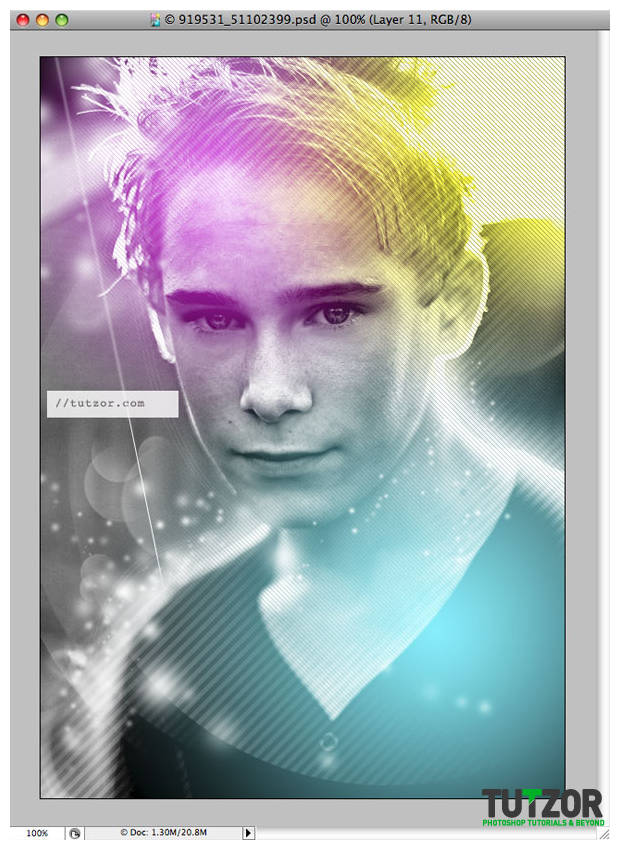
Copyright© 2012 Tutzor All Rights Reserved | Developed by: Iceous Design


Comments
Re: Make your image look awesome with a few light effects
Awesome Photoshop samples. Thanks
http;//www.webski.com.au
Make your image look awesome with a few light effects
Oh Thank you so much.... It's awesome tutorials. I like it... too much...
Re: Make your image look awesome with a few light effects
When I make a new layer and I fill it with black, everything turns out black, I don't have the colors on top. How do you do to make the layer be background?
Pattern!
I downloaded the pattern file one of you posted, but I can't seem to load it because it's a RAR file.
Any help?
Re: Make your image look awesome with a few light effects
very nice tutorial.................................
Re: Make your image look awesome with a few light effects
I cant find the brush :( any help??
Re: Make your image look awesome with a few light effects
coulda explained the process a bit better...a little more details on a few steps and this woulda been a great tut!
Re: Make your image look awesome with a few light effects
Hi, everytime I did a gradient, my picture disappeard and i was left with the gradient on a white background, can someone help me and tell me why it does this?
Re: Make your image look awesome with a few light effects
hi can someone make a video of this tutorial it would be much help thx
Re: Make your image look awesome with a few light effects
Awesome tutorial.. love the choice of your colors. Thanks a lot for sharing!
Re: Make your image look awesome with a few light effects
Very nice tutorial
Thanks a lot
Ned
Web design Sydney
Re: Make your image look awesome with a few light effects
OMG, this is very nice and well detailed tutorial. thanks for sharing
Re: Make your image look awesome with a few light effects
this is amazing. super easy tut and looks awesome. thanks so much!!!
Re: Make your image look awesome with a few light effects
thnx for this awsome tut!!! it's great and easy to follow!!
How to get patterns
This is an AMAZING tutorial. I love it, it's a cool design, and extremely easy to follow, and to those people who are asking where to find the pattern, what I did is made my own!
For the first one, make a new image 14x14 pixels, double click "Background" to make it layer 0, erase everything. Right click the brush tool to get the pencil tool, and set the foreground colour to white, at the bottom left corner, click 1 pixel to the right, so theres a space in-between the pattern and the side, and make a 7 pixel long line, then continue until you hit the top (should end 1 pixel below the top) then at the top left corner draw 7 pixels down, and continue to your right until you cant anymore. Click Edit>Define Pattern... and name it whatever you want, then just select it in the pattern overlay section :D
For the 2nd one, make a 15x15 image and make your foreground colour "#797979" Make sure your pencil tool is selected, and make a 3x3 square. Continue doing this going up-left until you hit the top :) And again, Edit>Define Pattern... and name it!
Hope that helped people :)
Re: Make your image look awesome with a few light effects
found the pattern at step 8.
http://peterplastic.deviantart.com/art/Photoshop-Stripe-patterns-2-14531...
awesome tut
Re: Make your image look awesome with a few light effects
Can you please put a download link for the patterns?It would make it so much easier!
You can create your own pattern
For Step 8, you can create the pattern, by creating a new 10px by 10px image with diagonal boxes of 4px. Then, define it as pattern.
Same goes with step 11, only smaller pixel.
Hope, it'll help. :)
Re: Make your image look awesome with a few light effects
step 8 and 11 i dont have the patterns?Are they default with Adobe Photoshop cs3? I have cs4 & if they are does anyone know where i can download?
Re: Make your image look awesome with a few light effects
Wow! that was a great tutorial. I never posted a comment before but after seeing this tutorial, I had no choice than to say something. I am gonna try it out for my kid's pic. Thanks alot.
where did you get the stripes from?
i cant find it anywhere..im using cs3
Re: Make your image look awesome with a few light effects
Having Trouble about the pattern overlay, cannot find the white stripes... =( Anyway, I like this tutorial! ^_^
Re: Make your image look awesome with a few light effects
Hi, i'm new to this, I didn't not understand the part in step 19..
Awesome
Awesome! Thanks for the tutorial! It really helps. ^^