

 Cpotorac
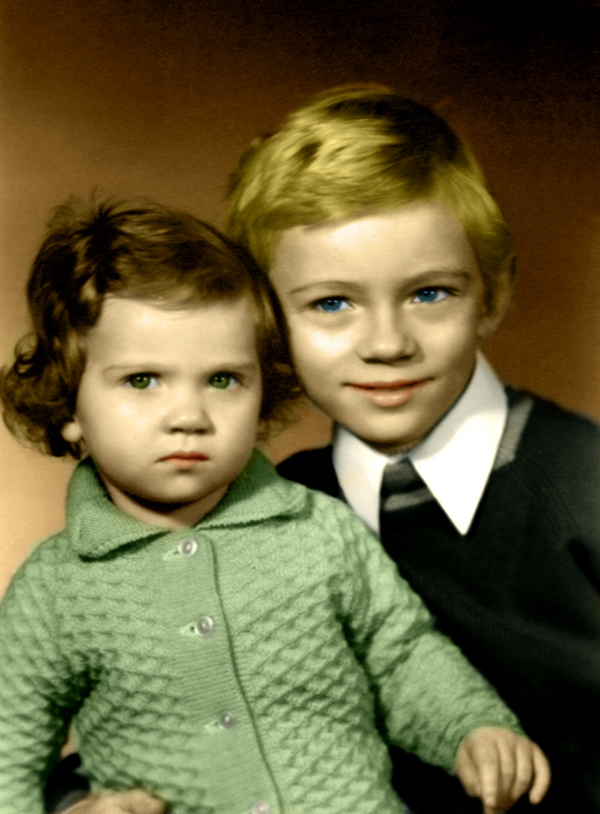
Here is a tutorial that will show you how to add some colors to your old photographs. This is a very useful technique that I actually used for a client of mine.
 Cpotorac
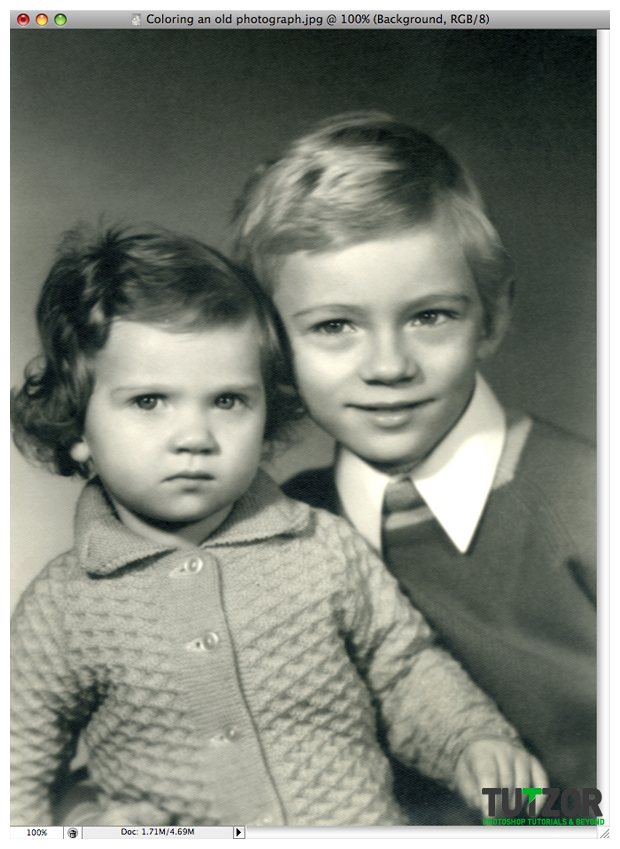 Cpotorac
 Cpotorac
 Cpotorac
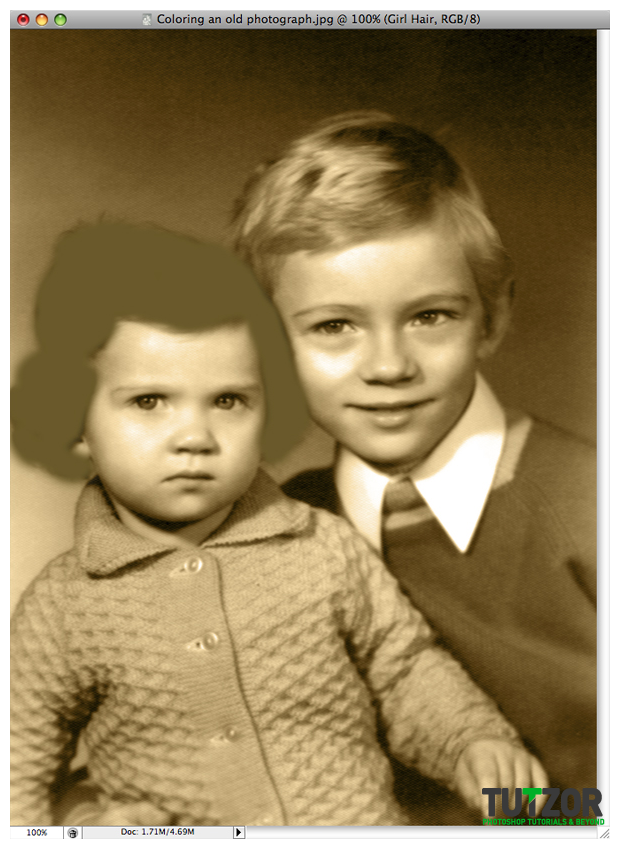 Cpotorac
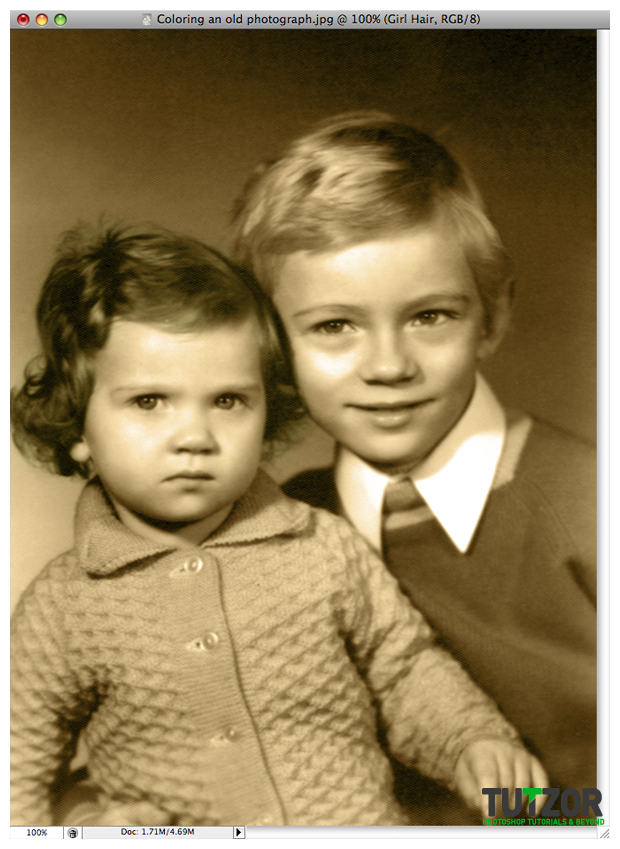 Cpotorac
 Cpotorac
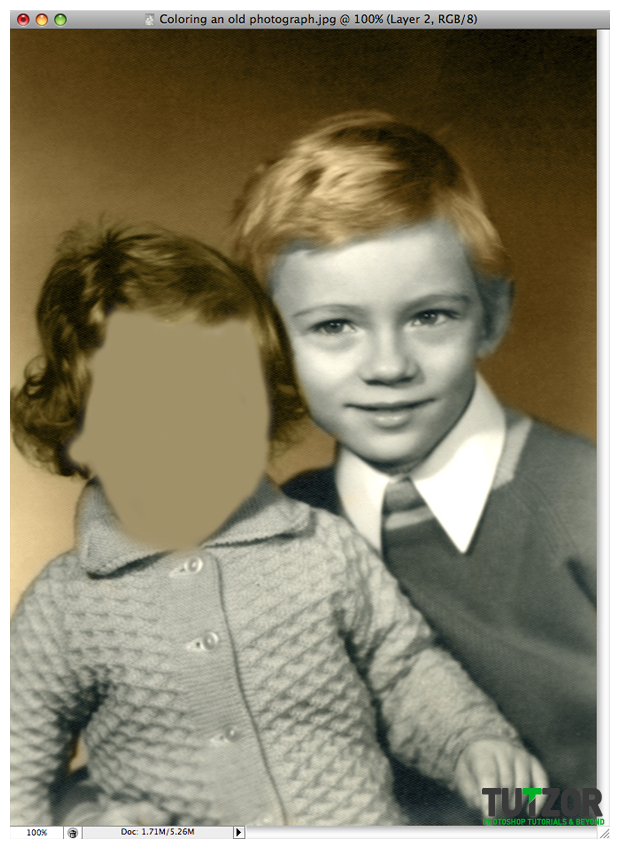 Cpotorac
 Cpotorac
 Cpotorac
 Cpotorac
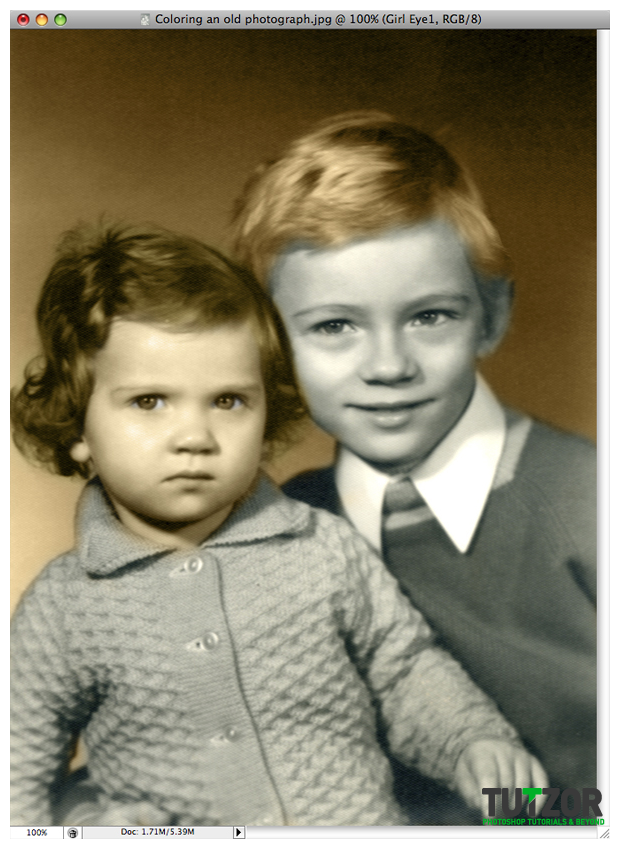 Cpotorac
 Cpotorac
 Cpotorac
 Cpotorac
 Cpotorac
 Cpotorac
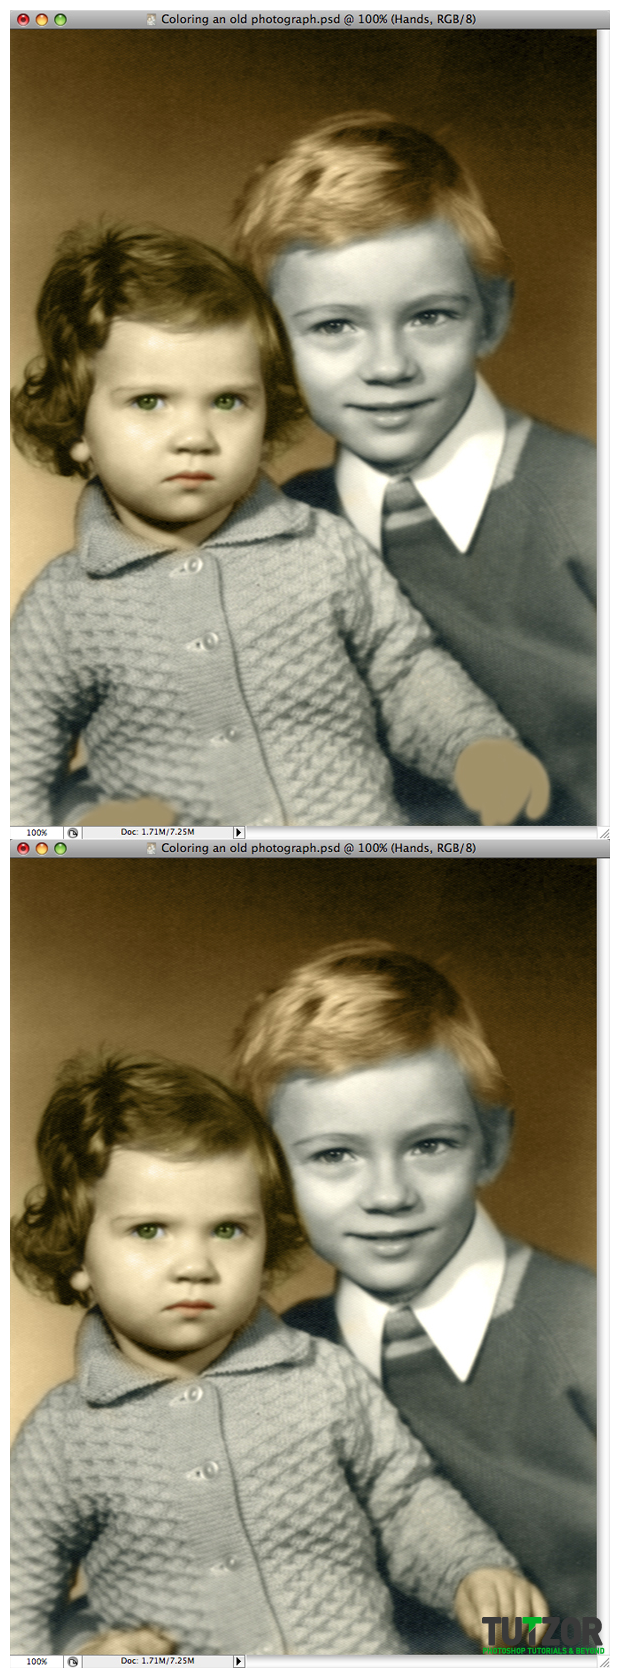 Cpotorac
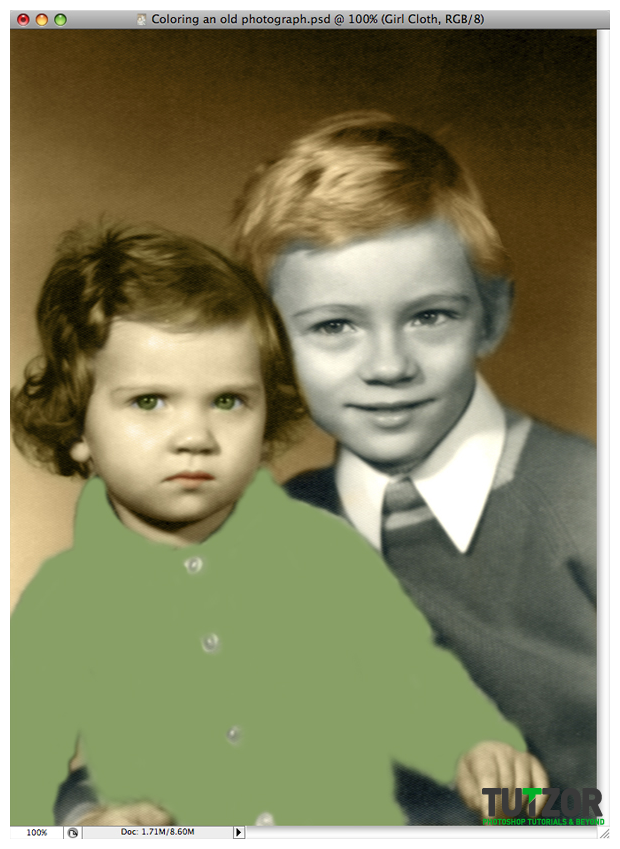 Cpotorac
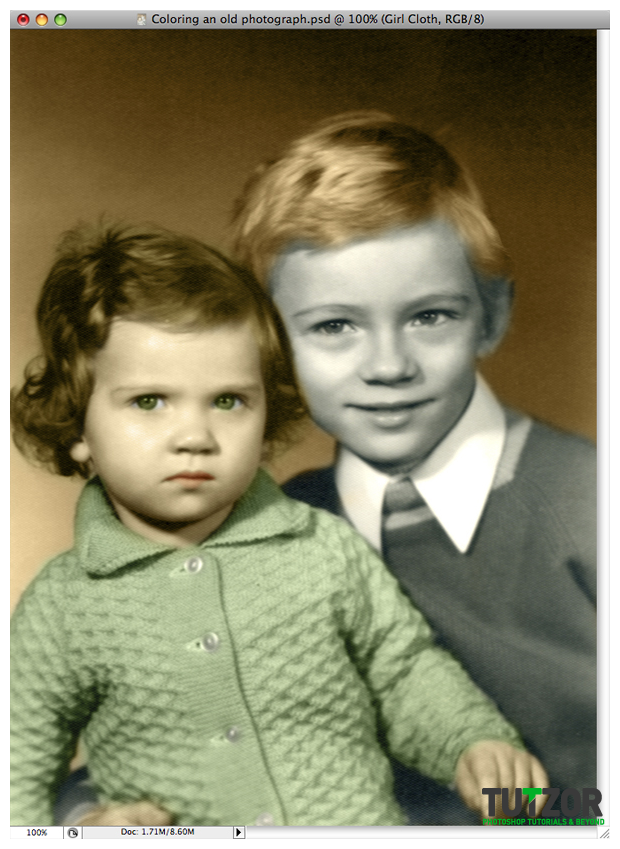 Cpotorac
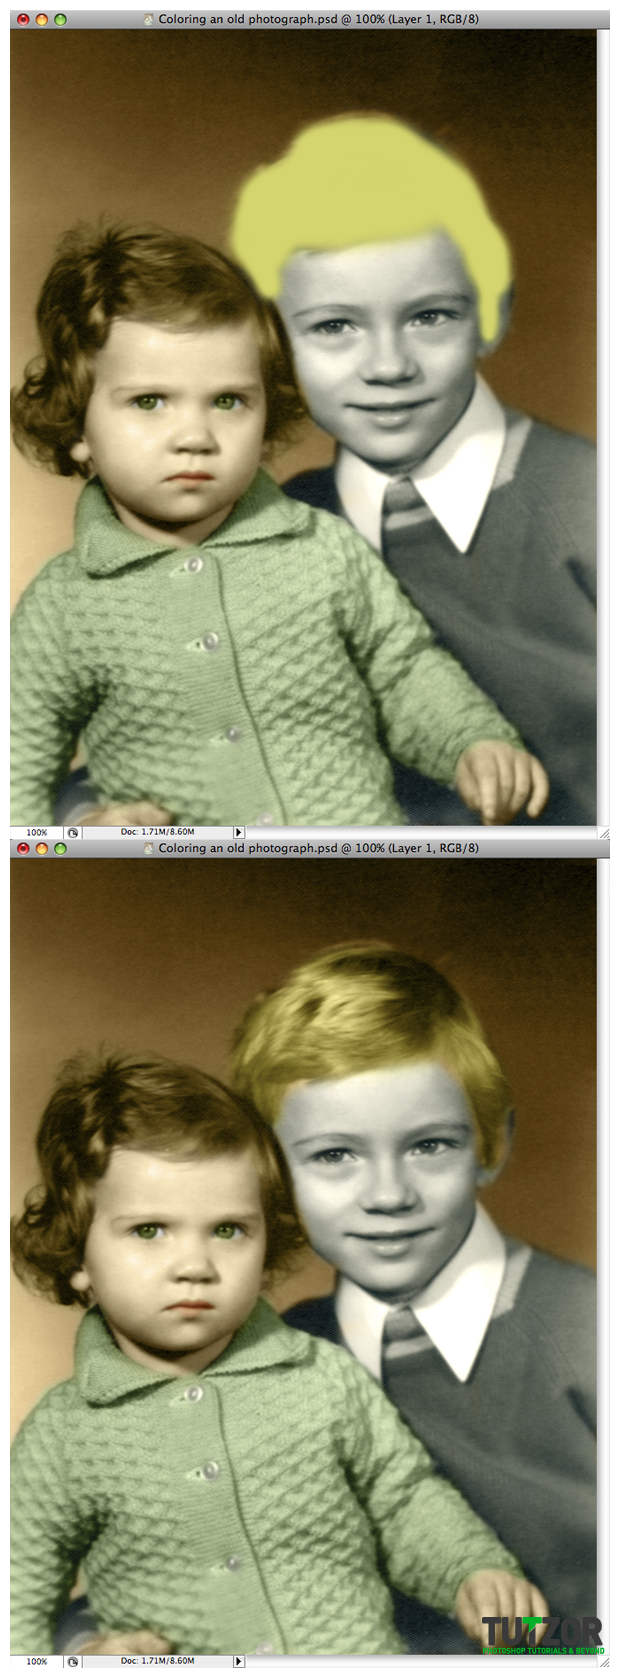 Cpotorac
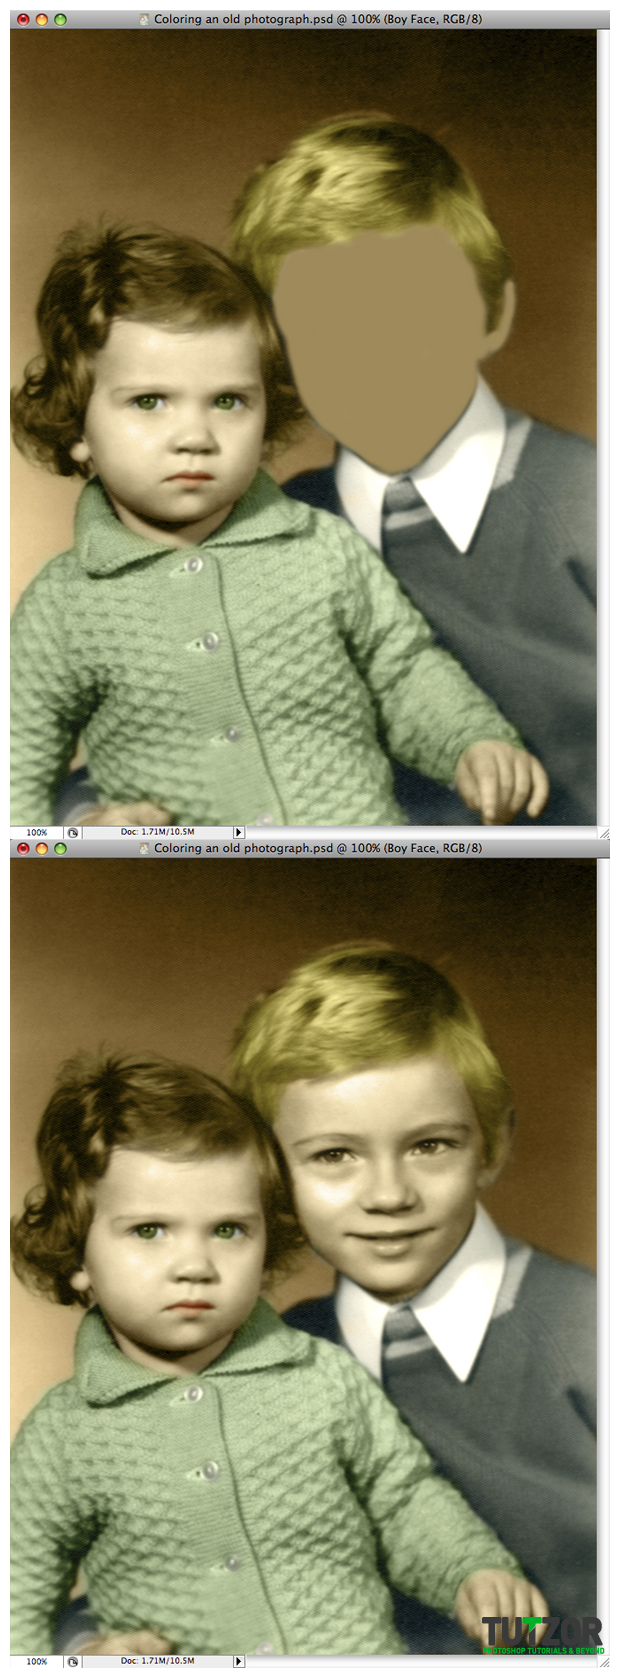 Cpotorac
 Cpotorac
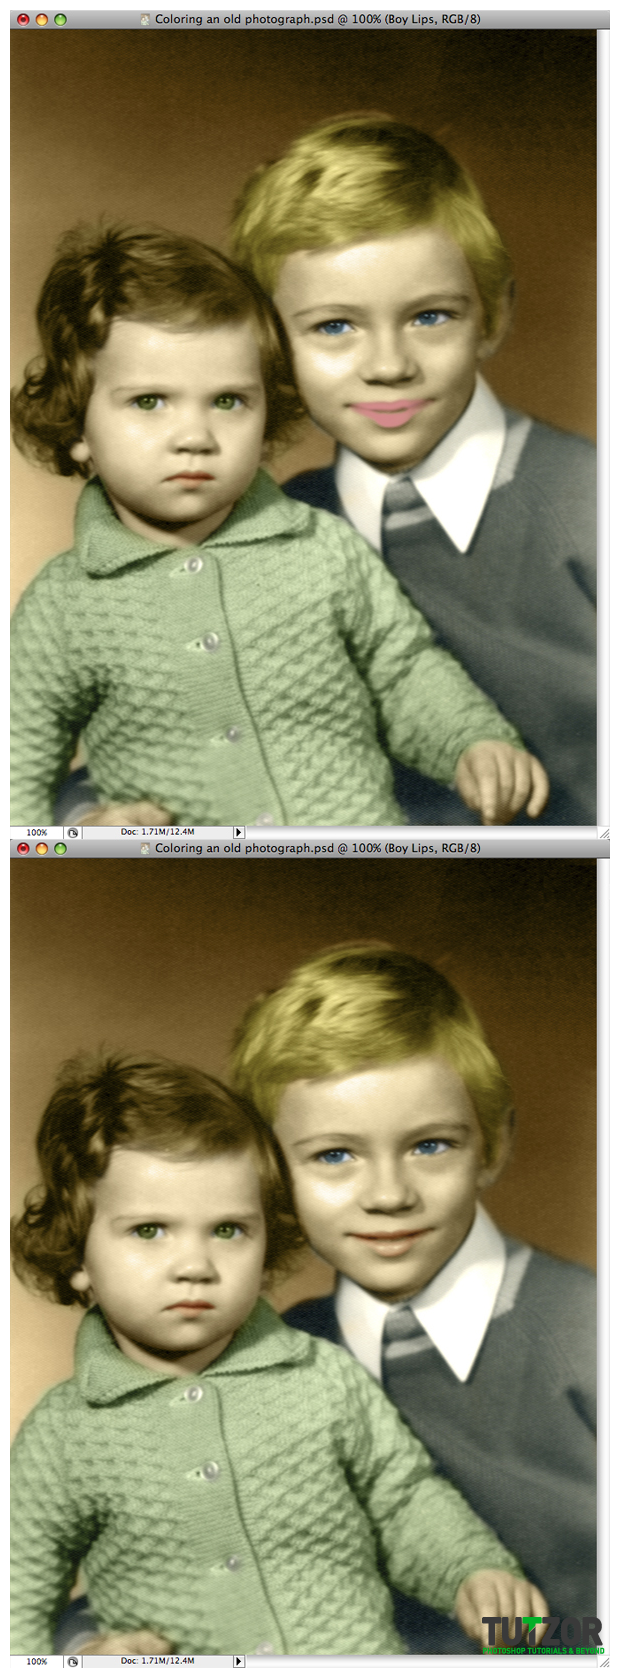 Cpotorac
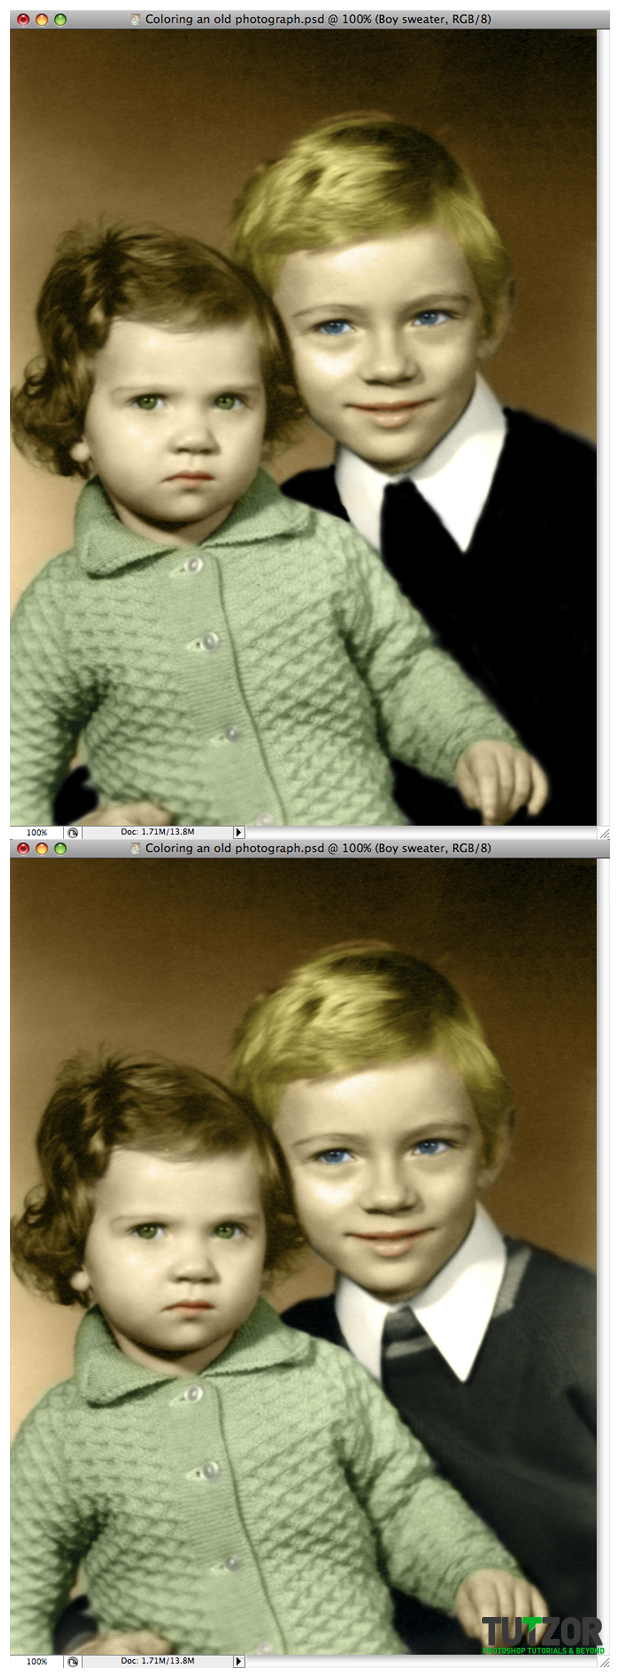 Cpotorac
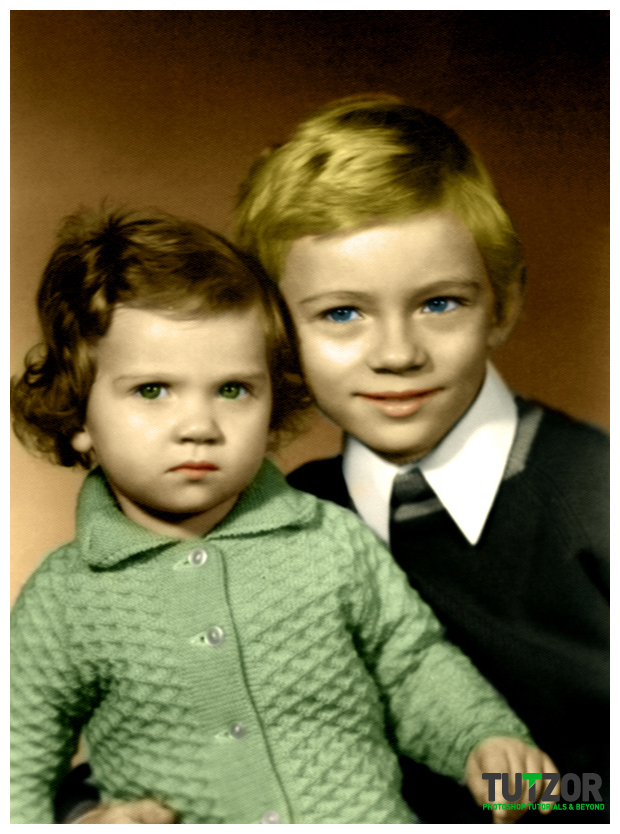
Copyright© 2012 Tutzor All Rights Reserved | Developed by: Iceous Design


Comments
Muy instructivo
Gracias intiresnuyu iformatsiyu
Re: Coloring an old, black and white photo
Awesome and good work . i have read your idea with practice
Re: Coloring an old, black and white photo
In Step 6 how to mask layers. I can't understand it. Please explain. Thanks...
Re: Coloring an old, black and white photo
To add color in old black & white photos of unforgettable moments is an interesting thing. You have used awesome techniques in this post. I also wanted to do such a work so thanks for sharing this helpful post.
Re: Coloring an old, black and white photo
I’ve just been trying to apply the similar effect on some of my photos that needed some ‘aging’ effects on them. Thanks for the tutorial, it was really helpful!