

 Cpotorac
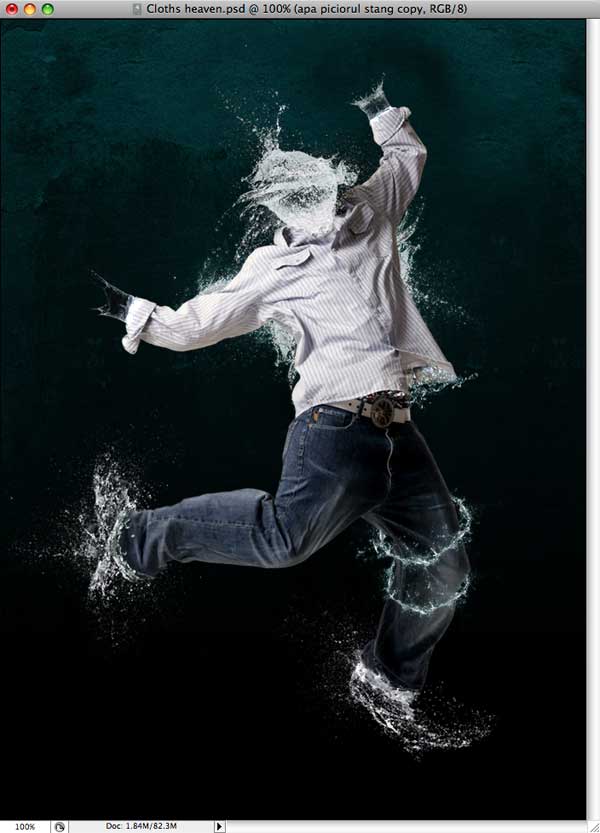
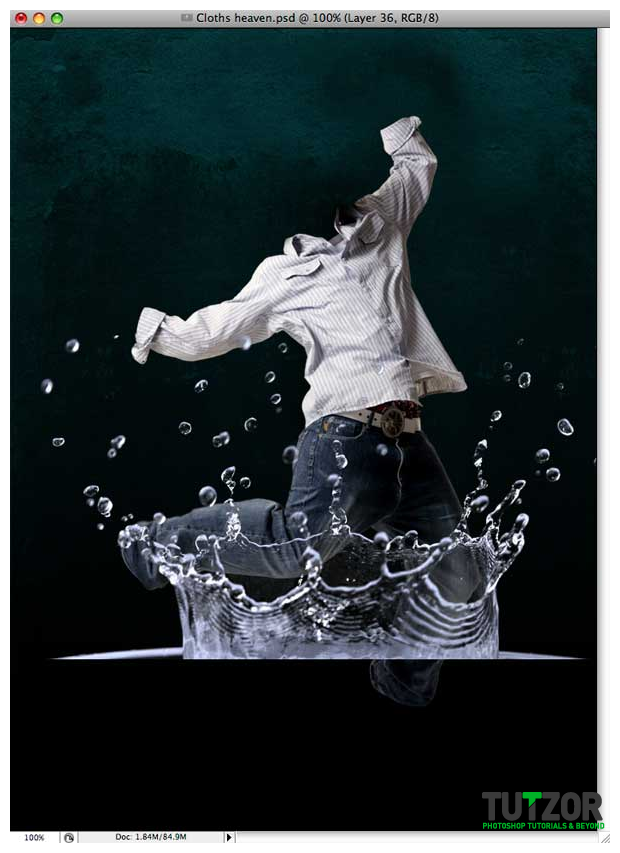
I have seen something really interesting on the net a few days that was made by Nik Ainley but I found the tutorial too small. So here is a more detailed one for those who think of using this great technique.
 Cpotorac
 Cpotorac
 Cpotorac
 Cpotorac
 Cpotorac
 Cpotorac
 Cpotorac
 Cpotorac
 Cpotorac
 Cpotorac
 Cpotorac
 Cpotorac
 Cpotorac
 Cpotorac
 Cpotorac
 Cpotorac
 Cpotorac
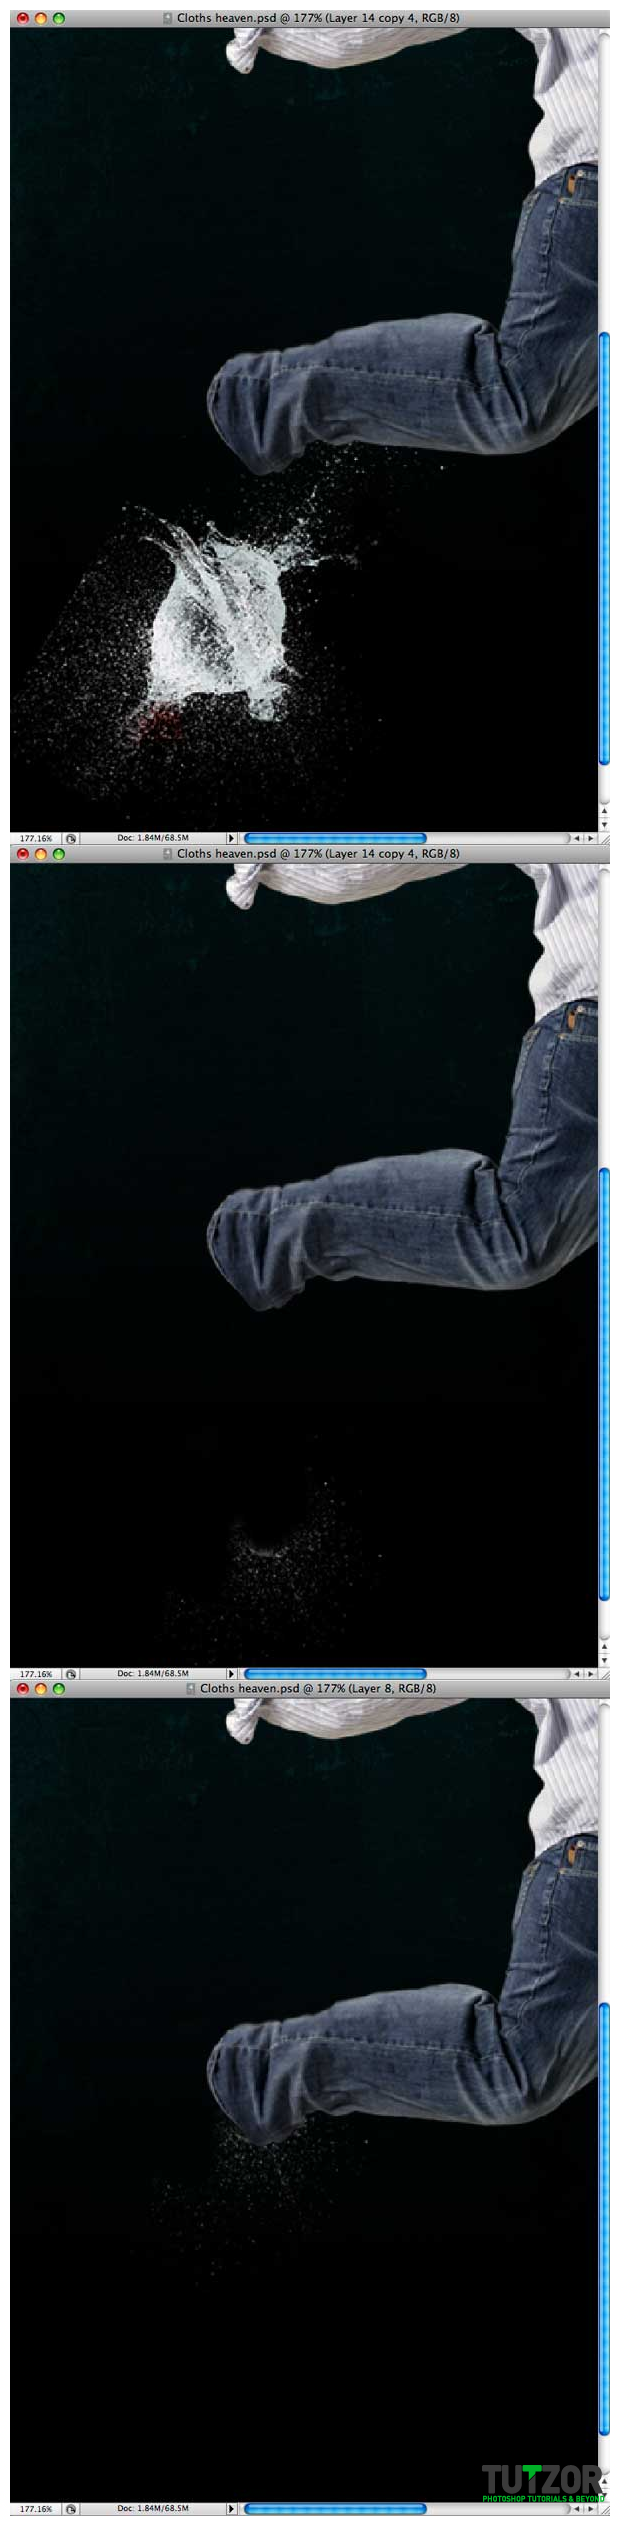

 Cpotorac
 Cpotorac
 Cpotorac
Copyright© 2012 Tutzor All Rights Reserved | Developed by: Iceous Design


Comments
Re: Water effect photo montage
thank you so much for teaching me this new technique! im really proud of the picture i made from ur tutorial :)... i hope you make more tutorials
Re: Water effect photo montage
ooo great. I think its a wonderful website budy.I am a student and making the preparation for my real exams. Best of luck.
Re: Water effect photo montage
yar.good work.this is good technic.thks
Re: Water effect photo montage
WoW!!! amazing!!!
Re: Water effect photo montage
KeWl ...Work!! superb job!
Water effect photo montage
,good job
,nalibang ako ai!
Re: Water effect photo montage
jajaja, super cool!!!
Re: Water effect photo montage
good article, http://www.cmonc.com I wait for the next article ...haha. Thanks for sharing
very cool tutorial
Very creative and well done!